
OPTIMIZE YOUR LEARNING SPACE WHILE SAVING MONEY
")
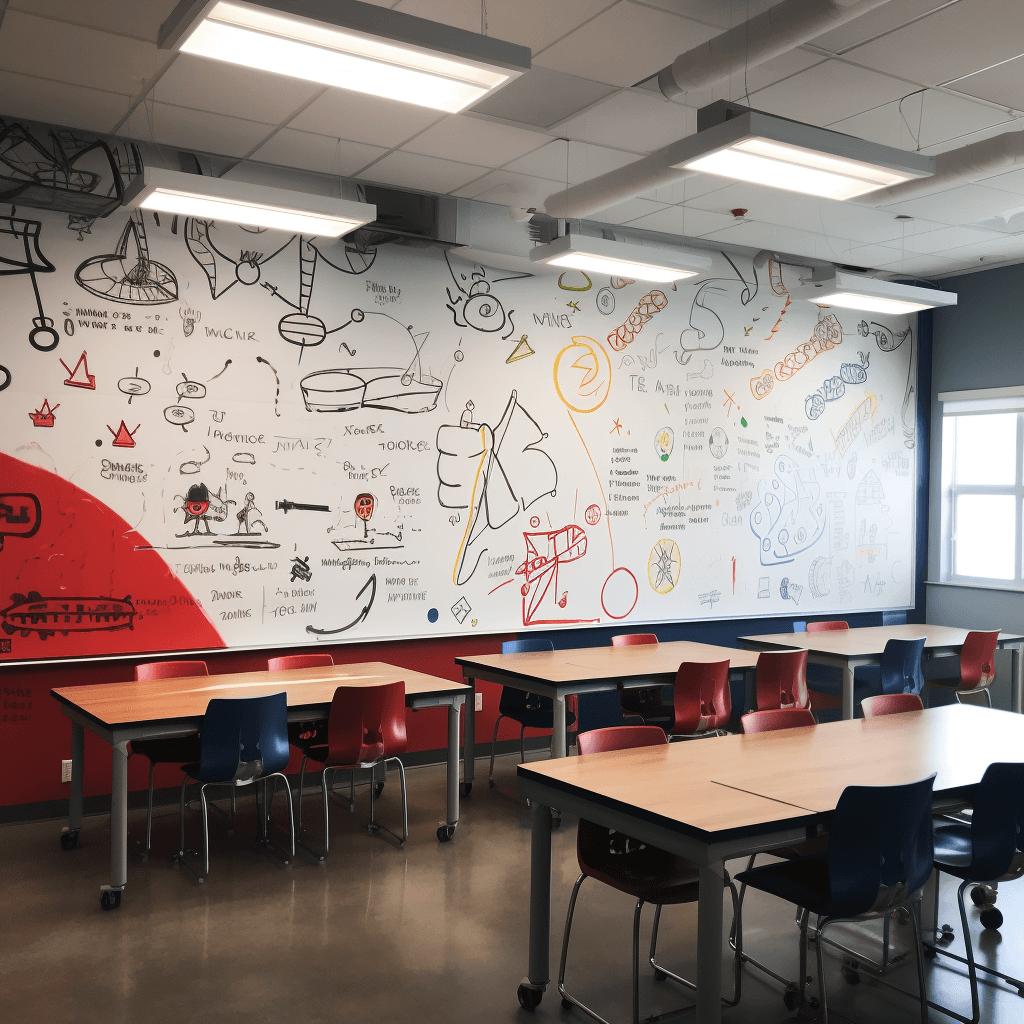
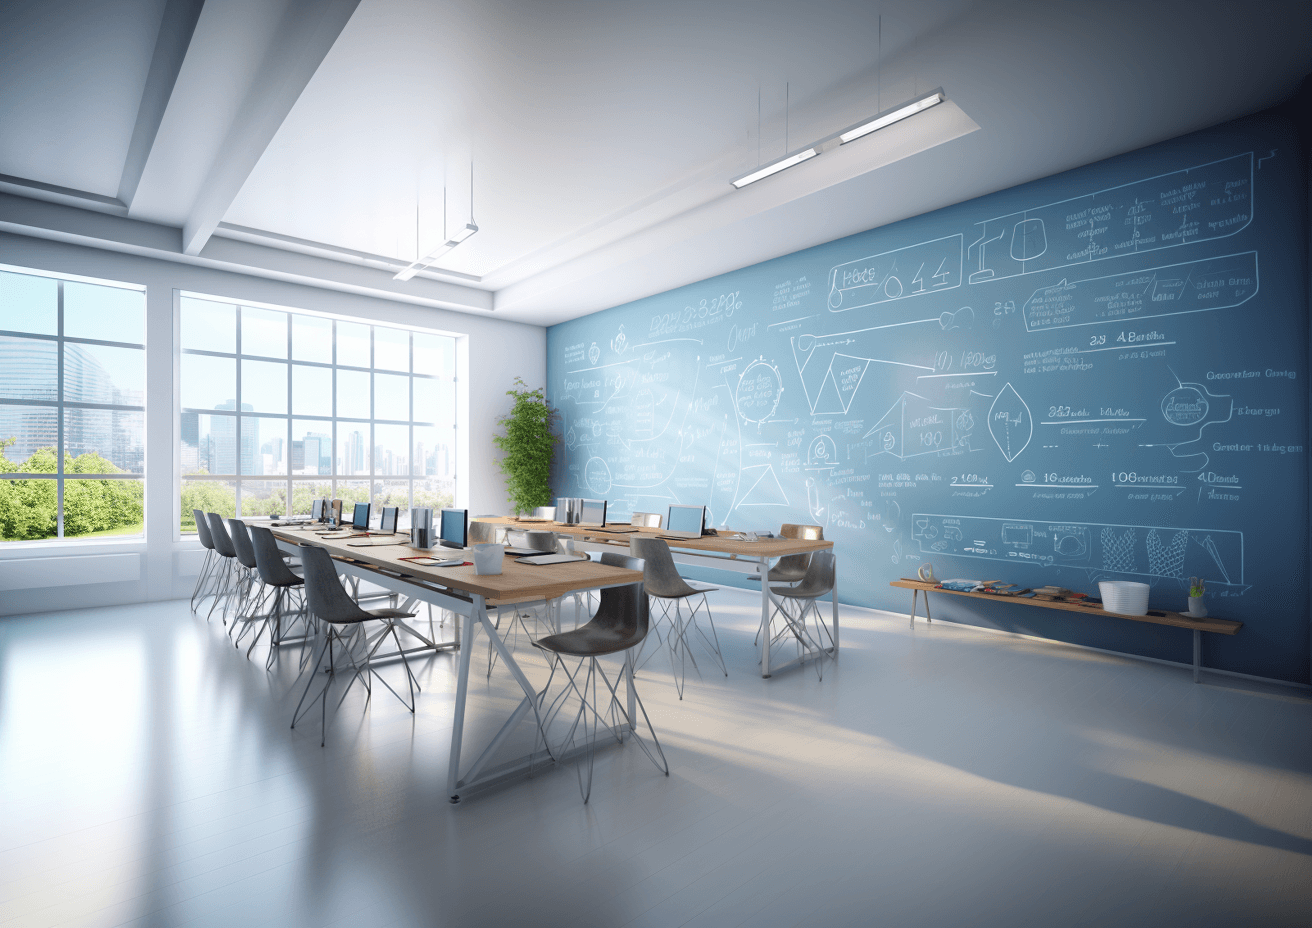
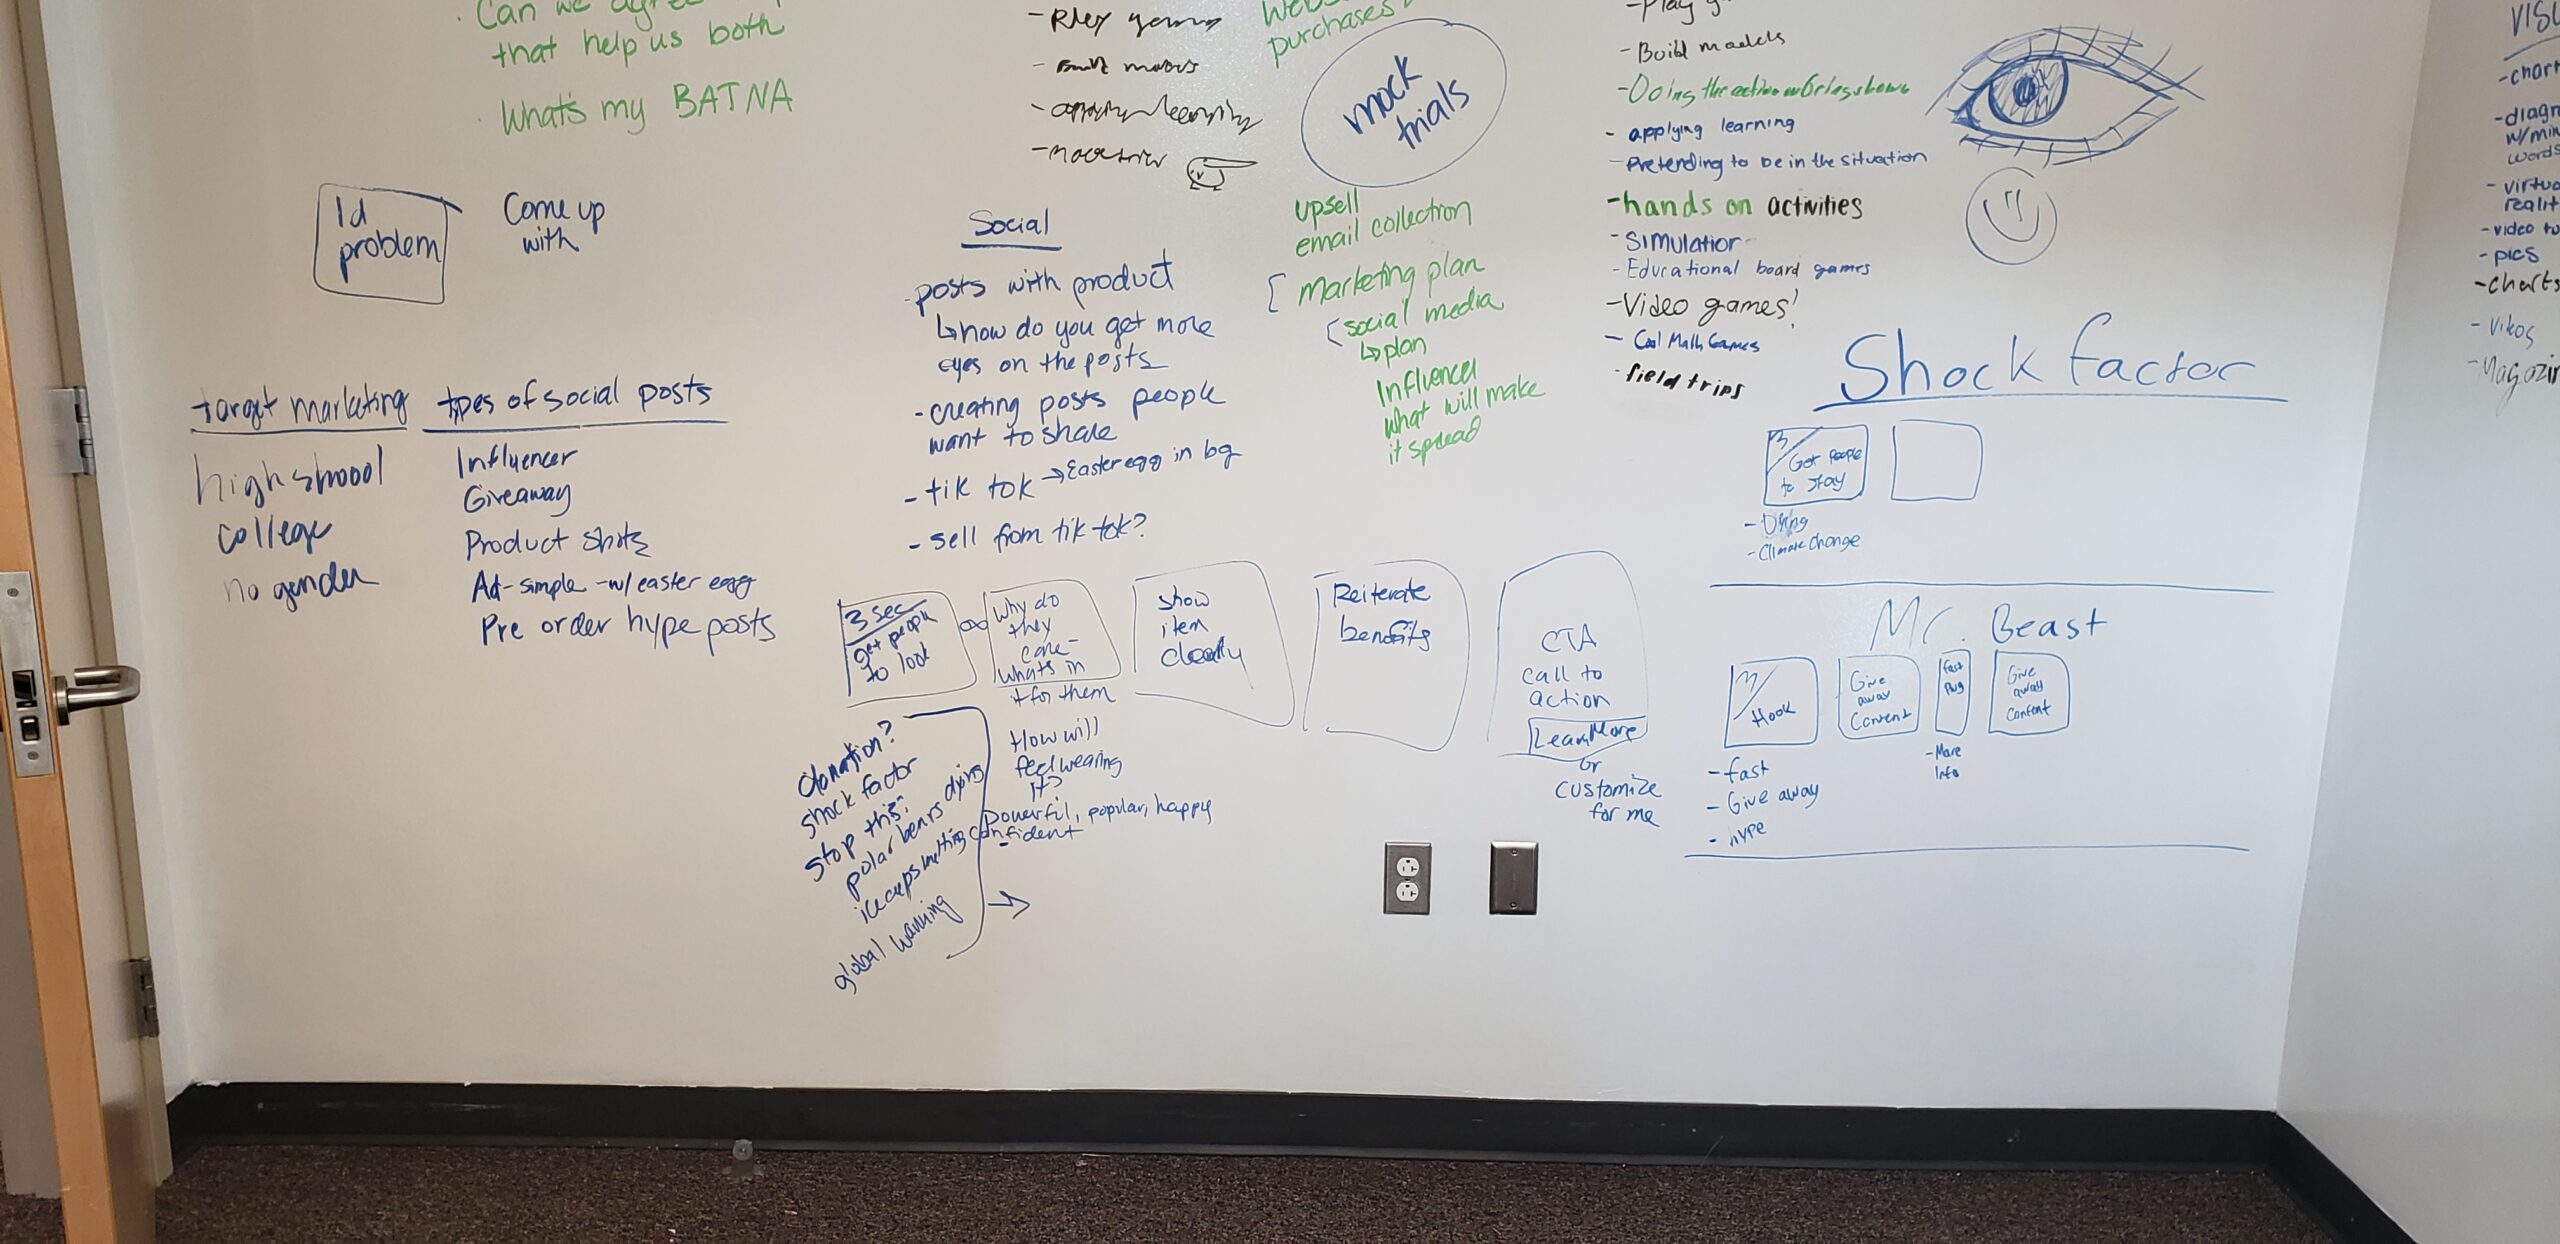
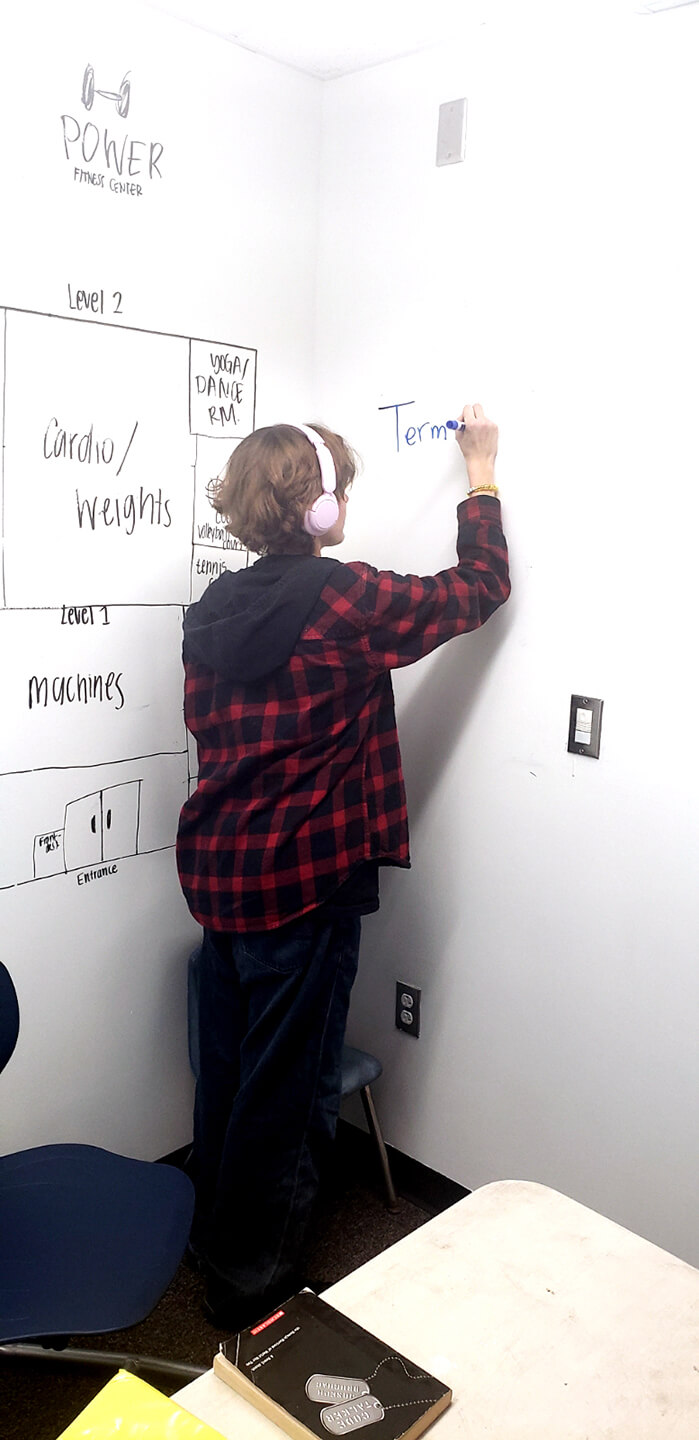
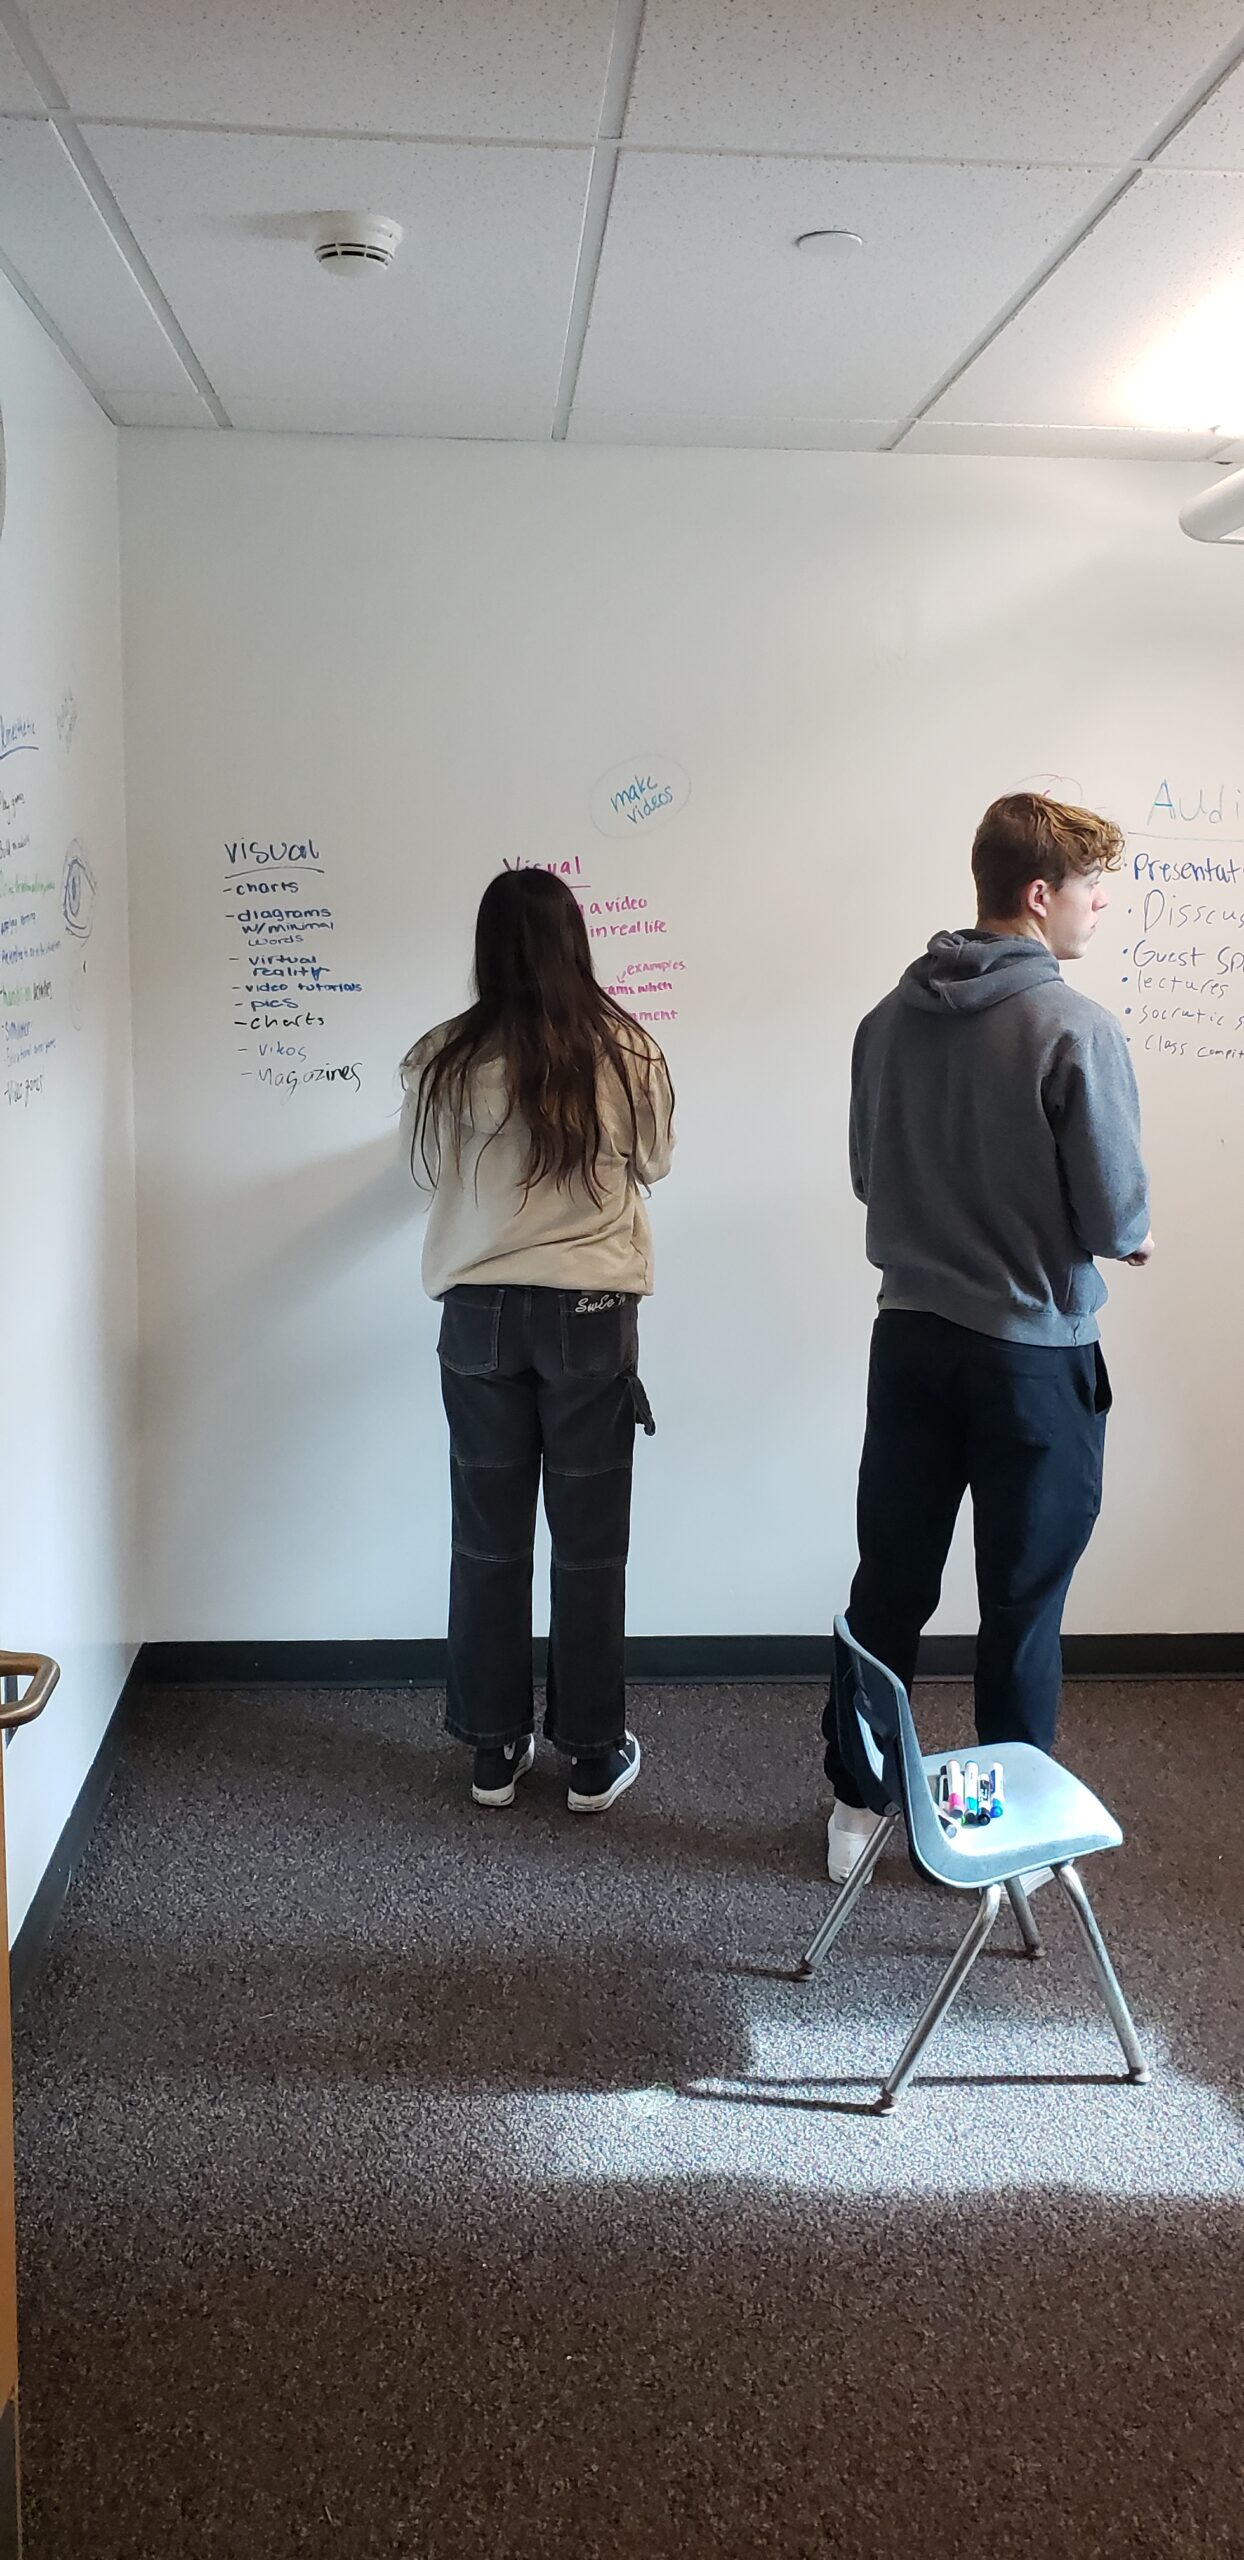
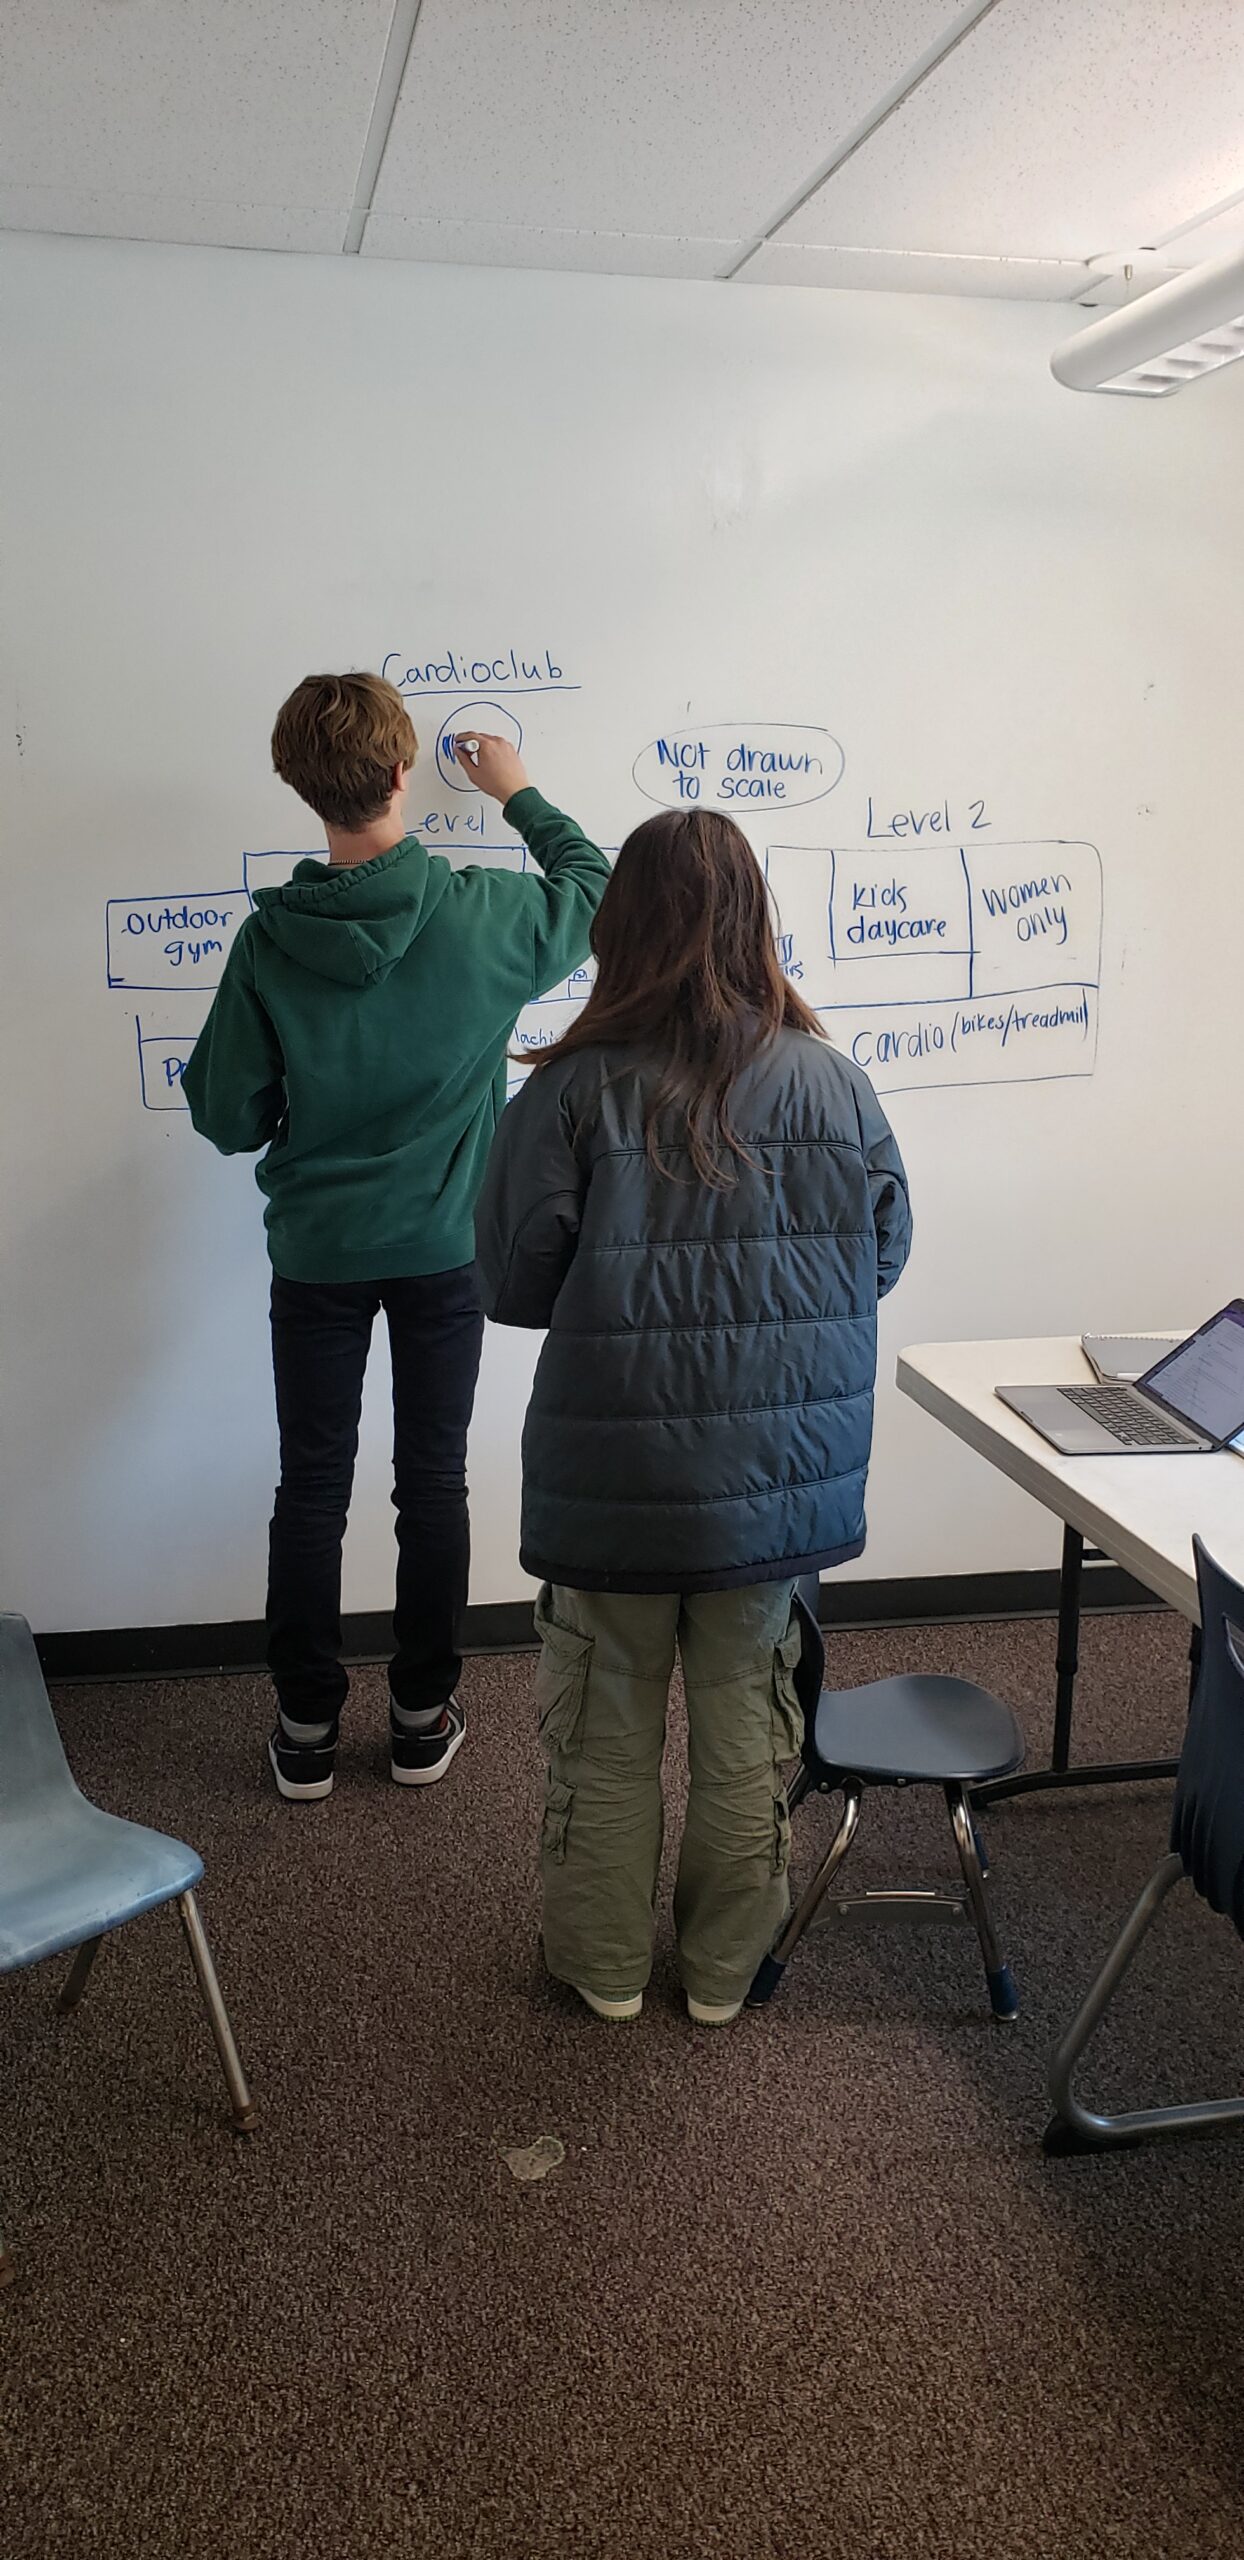
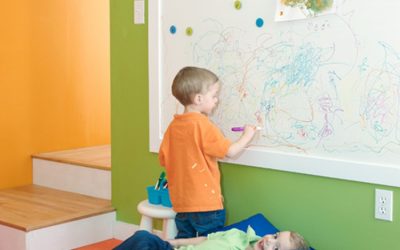
Dry erase painted walls are ideal writing and drawing surfaces to use in classroom instruction because they’re large, open, expansive, inviting, and easy to write on and erase. Both teachers and students will be drawn to use dry erase walls during lessons that require a lot of visual stimulation and group interaction. Here are some engaging and creative ways to employ dry erase surfaces in either the home school setting or the traditional classroom.


Save below on our bundle discounted Smart Whiteboard Walls which are an affordable way to have the most useable whiteboard walls: ReMARKable whiteboard paint kits
-

Whiteboard Paint – 600 Square Foot Kit (White)
$1,480.00 Add to cart -
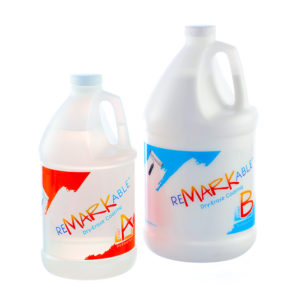
Dry Erase Paint – 600 Square Foot Kit (Clear)
$1,380.00 Add to cart -
Whiteboard Paint – 200 Square Foot Kit
$678.00 Add to cart -

Dry Erase Paint – 200 Square Foot Kit (Clear)
$658.00 Add to cart -
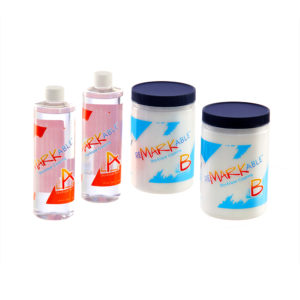
Chalkboard to Whiteboard Repurposing Bundle White 100 Square Feet – $57 savings (White)
$395.00 Add to cart -

Whiteboard Paint for Schools ($57 savings) (White)
$395.00 Add to cart -
Chalkboard to Whiteboard Repurposing Bundle Clear 100 Square Feet – $56 savings (Clear)
$383.00 Add to cart -
Whiteboard Paint for Schools ($56 savings) (Clear)
$383.00 Add to cart
OUR CUSTOMERS TRANSFORM USELESS SPACE INTO REMARKABLE DRY ERASE WALLS.
So if you want to be super cool like Google, Starbucks or Sony…
Or super smart like Harvard and Yale…
Order up some ReMARKable marker board paint and start noodling.

Why ReMARKable?
- Transform any smooth painted surface including walls, chalkboards, desks, tabletops, lockers, doors and more
- ReMARKable™ lasts longer and is more durable than both traditional whiteboards and other dry erase coatings. Its performance does not deteriorate over time.
- Traditional whiteboards range from about $20. per sq. ft opposed to a ReMARKable™ surface starting at $2.30 per sq. ft and ReMARKable™ outperforms and lasts longer
- Limitless boundaries with corner-to-corner options for maximum collaboration and teaching space
- LEED Compliant formula, certified safe for schools and children
- Educators are eligible for a minimum 15% discount and free shipping within the US on orders over $250.00
- Free Advice/Technical Consultation- a direct line to a knowledgeable pro to answer any application or other questions
- Best in Class US based customer service speaking with a real live person
- Guaranteed not to Yellow, Crack or Peel 10-year Warranty
- Superb and easy erase-ability
- Available in White or Clear (the color base paint you choose will show through)

ReMARKable Transformations
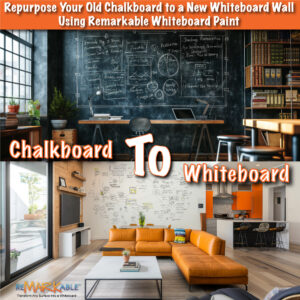
Repurposing and Refreshing Existing Classroom Surfaces
Revitalize dull walls, an old chalkboard, a worn-out whiteboard, and much more with the innovative ReMARKable™ Whiteboard transformation process. See the transformation for an old chalkboard below or check out full directions for any of these ideas. Remember not to limit the transformation to vertical surfaces alone. Try giving desks and tabletops more purpose by painting with ReMARKable™ Whiteboard and watch creativity flourish!
Transform an Old Chalkboard to A ReMARKable™ Whiteboard
- Wipe all the chalk dust from the surface and make sure it is clean and dry.
- Mask off the frame with painters’ tape (easy release) to protect the frame.
- Apply 2-3 thin coats ReMARKable ™ Base Paint (wait 3-4 hours minimum between coats). The object is to seal the absorbent surface and provide a nice and smooth, solidly painted, white background. 1/4” nap roller for smooth surfaces is best. Wait at least 24 hours after final base coat.
- Apply one coat ReMARKable™ Whiteboard Paint with 3/8” nap microfiber roller. A 2” sponge brush may be used for “cutting in” the edges next to the frame.
- Remove painters’ tape carefully 3-4 hours after application.
- Wait 48 hours for use with low odor dry erase markers and easy erase with microfiber cloth

Transform an Old Whiteboard to a refreshed ReMARKable™ Whiteboard
• Wipe all the ink from the surface and make sure it is clean and dry.
• Mask off the frame with painters’ tape (easy release) to protect the frame.
• Apply 2-3 thin coats ReMARKable ™ Base Paint (wait 3-4 hours minimum between coats). The object is to seal the slick surface and provide a nice and smooth, solidly painted, white background. 1/4” nap roller for smooth surfaces is best. Wait at least 24 hours after final base coat.
• Apply one coat ReMARKable™ Whiteboard Paint with 3/8” nap microfiber roller. A 2” sponge brush may be used for “cutting in” the edges next to the frame.
• Remove painters’ tape carefully 3-4 hours after application.
• Wait 48 hours for use with low odor dry erase markers and easy erase with microfiber cloth

Refresh Existing Whiteboard Walls with ReMARKable™
(If the wall texture is smooth, and there are no holes to be patched)
- Wipe all the ink from the surface.
- Mask area as needed
- Sand the entire surface lightly with 220 grit sandpaper to scuff and etch. Sanding will also help with any residual staining.
- Once the surface is smooth, sanded, clean, and dry, apply one coat ReMARKable™ Whiteboard Paint with 3/8” nap microfiber roller. A 2” sponge brush may be used for “cutting in” the edges.
- Remove painters’ tape carefully 3-4 hours after application.
- Wait 48 hours for use with low odor dry erase markers and easy erase with microfiber cloth

Refresh Existing Damaged Whiteboard Walls with ReMARKable™
(If the wall texture is smooth, and there are holes to be patched)
- Wipe all the ink from the surface.
- Mask area as needed
- Sand the entire surface lightly with 220 grit sandpaper to scuff and etch. Sanding will also help with any residual staining.
- Use paintable patching material to fill any holes, digits, or other repairs. Once the patch material is dry, sand the patched are to make it smooth.
- Apply a waterbed primer over the patched area to seal the absorbent material.
- Apply 2 thin coats ReMARKable ™ Base Paint (wait 3-4 hours minimum between coats). The object is to adhere to the slick surface and provide a nice and smooth, evenly and solidly painted, white background. 1/4” nap roller for smooth surfaces is best. Wait at least 24 hours after final base coat.
- Apply one coat ReMARKable™ Whiteboard Paint with 3/8” nap microfiber roller. A 2” sponge brush may be used for “cutting in” the edges.
- Remove painters’ tape carefully 3-4 hours after application.
- Wait 48 hours for use with low odor dry erase markers and easy erase with microfiber cloth
Transform Desk or Tabletop to a ReMARKable Surface
- Clean the surface and let dry.
- Mask area as needed
- Apply 2-3 thin coats ReMARKable™ Base Paint (wait 3-4 hours minimum between coats). The object is to adhere to the slick surface and provide a nice and smooth, evenly and solidly painted, white background. 1/4” nap roller for smooth surfaces is best. Wait at least 24 hours after final base coat.
- Position the desk or table so that the writing surface is vertical (like a wall). Either lean the item against a wall or set on its side on another tabletop. ReMARKable™ application works best applied vertically, allowing the self-leveling agent to work.
- Apply one coat ReMARKable™ Whiteboard Paint with 3/8” nap microfiber roller. A 2” sponge brush may be used for “cutting in” or on the edges.
- Remove painters’ tape carefully 3-4 hours after application.
- Wait 48 hours for use with low odor dry erase markers and easy erase with microfiber cloth
*Refer to Instruction Sheet below for complete application instructions
https://www.remarkablecoating.com/wp-content/uploads/2021/04/ReMARKable_Instructions.pdf

It only takes five simple steps to transform any smooth, painted surface into a dry-erase whiteboard surface that does so much more. You can transform an entire wall, a portion of a wall, desks, tabletops, lockers, doors, and more into a whiteboard-style dry-erase surface without a bulky and expensive board to install.

Choose Your Space
Where will you get the most benefit out of a smart whiteboard wall? Whether the wall is in your home, school, or business, find the best space where the wall will be most beneficial for you.

Measure Up
ReMARKable offer their whiteboard wall kits in a variety of sizes, so you only pay for what you really need. Measure your whiteboard space and decide how big you want your whiteboard to be.

Decide On Your Color
ReMARKable can be used to create a traditional whiteboard (white) and also offers a clear coat so you can treat any color-painted surface. Perhaps you want to keep in line with your branding colors, or maybe it will liven up a child’s room – the possibilities are endless.

Apply Proper Base Paint
ReMARKable offers a superior base paint, but a few others will also work. Choose from this list Preferred-Base-Paints.pdf
You will need to use the color white under white ReMARKable. You may choose any light to mid toned color for use under the clear ReMARKable. Use 1/4” nap roller for smooth surfaces.

Apply ReMARKable Whiteboard Paint
ReMARKable coating works best on a smooth painted surface, so sanding or skim the walls to create a smooth surface and ensure that the area is dust-free. ReMARKable is applied with a 3/8” microfiber roller. Our website features this handy video so that you can apply with ease. Review the written instructions and call us with any questions before mixing the two parts together.
Educational Use Idea Gallary


Elevating Education: Why Whiteboard Paint Outshines Chalkboard Paint in Every Classroom
Elevating Education: Why Whiteboard Paint Outshines Chalkboard Paint in Every Classroom Despite their long history of use in education, chalkboards have been declining in popularity since the emergence of walls coated with whiteboard paint. For decades, chalkboards...

Transforming Learning with ChatGPT and Dry Erase Walls
Transforming Learning with ChatGPT and Dry Erase Walls The 2023-24 school year brings new and exciting challenges for educators – managing the impact of AI tools like ChatGPT and using these technologies constructively in the classroom. ChatGPT, which stands for Chat...

How Dry Erase Painted Walls Benefit Teachers
How Dry-Erase Painted Walls Benefit Teachers Top-quality ReMARKable Dry-Erase Paint is a natural fit as an instructional tool for teachers from the kindergarten to the university level. The huge open writing and drawing canvas provided by a dry-erase painted wall...
WHITEBOARD COATED WALLS ARE IDEAL FOR SOCIAL DISTANCING IN THE CLASSROOM
Whiteboard Coated Walls: Ideal for Social Distancing in the Classroom The US Centers for Disease Control and Prevention (CDC) has recently updated K–12 school guidelines to reflect the latest research on the practice of physical distancing among students in classroom...

Tips On Homeschooling While Working From Home
Tips On Homeschooling While Working From Home Introduction: Today’s homeschooling movement arose in the 1970s, promoted by educators who believed that parents should adapt the homeschool curriculum to their children’s interests, not the other way around. And what...
Tips on Learning From Home with a Whiteboard Painted Wall
Tips on Learning From Home with a Whiteboard Painted Wall One of the greatest challenges for homeschoolers is ensuring that their children are able to gain new knowledge and learn relevant course material while studying in the comfortable confines of home. While...