
Can You Paint Over a Whiteboard Wall?
I. When Should You Paint Over a Whiteboard Wall?
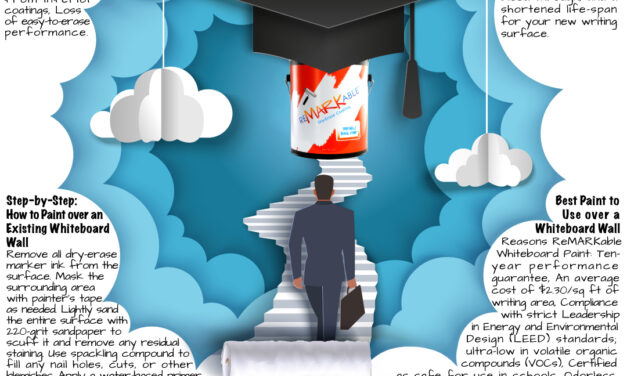
- Ghosting, shadowing, or staining – Many lower-quality whiteboard coatings lack sufficient durability to resist these problems. In contrast, ReMARKable Whiteboard Paint is guaranteed to resist all types of discoloration for ten or more years of continuous use.
- Dullness from long-term use – Loss of sheen on a dry erase surface may occur with some whiteboard paint brands, especially those that are epoxy-based. Due to the chemical structure of their components, epoxy-based whiteboard paints are prone to problems like loss of surface luster. ReMARKable’s high-quality water-based chemical components, on the other hand, make the coating highly resistant to fading and dullness, even after years of use.
- Damage from dents, scratches, and residue – Imperfections in a dry erase wall can be easily rectified with careful patching and sanding, followed by a base coat and a layer of ReMARKable Whiteboard Paint. ReMARKable is tough, long-lasting, and resilient, so after it’s applied, such minor problems will no longer be an issue.
- Yellowing from inferior coatings – Epoxy-based whiteboard paints are prone to yellowing when they’re exposed to ultraviolet light for just a short period of time. Even when chemicals called UV light stabilizers are added during manufacture, epoxy-based coatings still turn yellow and eventually need to be removed and recoated. On the contrary, ReMARKable, does not yellow, as it has an aliphatic acrylic urethane composition that’s highly resistant to UV radiation.
- Loss of easy-to-erase performance – Another problem that arises with many whiteboard paints is that the dry erase surface they produce becomes hard to erase. For example, a middle school teacher recently commented on Facebook that she applied dry erase paint from another manufacturer in her classroom, “and after one year it cannot be erased and the board was ruined.”
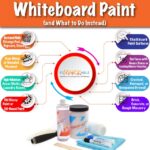
II. What Happens If You Paint Directly Over a Whiteboard Wall Without Prep?
- The new whiteboard paint may not adhere to the old whiteboard wall. Glossy, oil-based and epoxy-based surfaces on an existing wall will resist being covered by new coatings. This creates an amplified risk of chipping and poor adhesion, as well as the need to properly prepare the wall and apply a second coat of whiteboard paint.
- Peeling and bubbling may occur if an adverse chemical reaction occurs between the paint that’s currently on the wall and the new whiteboard coating being applied. If the existing paint contains additives such as antimicrobial agents, anti-mildew agents, and flow modifiers, these chemicals can negatively affect the quality of the finished dry erase surface, making it unusable.
- If the new coat of whiteboard paint gets absorbed unevenly into the old surface, an irregular texture can show through, leaving an inconsistent finish with patchy areas that compromise the look of your whiteboard wall.
- Marker residue from the old wall may bleed through the newly coated surface, causing permanent discoloration that degrades the new whiteboard wall’s appearance.
- Not prepping an existing whiteboard wall before applying a new coat of whiteboard paint can shorten the lifespan of your new writing surface. When applied to an unprepared wall, the coating will be susceptible to the above-mentioned problems of chipping, poor adhesion, peeling, patchy areas, and discoloration caused by old marker residue bleeding through.
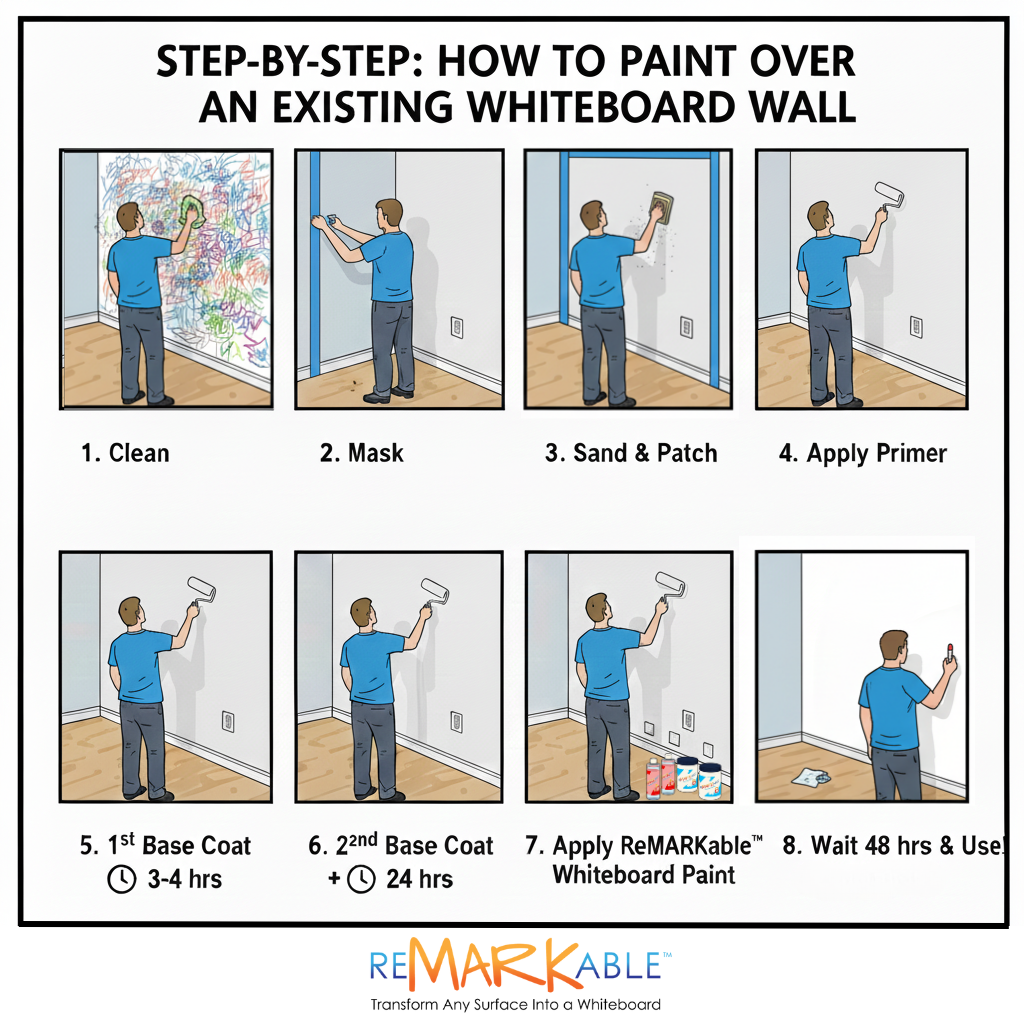
III. Step-by-Step: How to Paint over an Existing Whiteboard Wall
- Remove all the dry erase marker ink from the surface.
- Mask the surrounding area with painter’s tape as needed.
- Lightly sand the entire surface with 220 grit sandpaper to scuff it and remove any residual staining.
- Use spackling compound to fill any nail holes, cuts, or other blemishes. Once the spackling compound is dry, sand the patched areas to smooth them.
- Apply a water-based primer over the patched areas to seal the spackling material.
- Apply two thin coats of ReMARKable Base Paint (wait three to four hours minimum between coats). The object is to adhere to the slick wall surface and provide a smooth and solidly painted white background. Using a 1/4” nap roller for smooth surfaces is recommended. Wait at least 24 hours after applying the final base coat.
- Apply one coat of ReMARKable Whiteboard Paint with a 3/8” nap microfiber roller. A 2” sponge brush may be used for “cutting in” the edges.
- Carefully remove the painters’ tape three to four hours after application.
- Wait 48 hours before using the whiteboard wall with low-odor dry erase markers, and easily wipe the surface with a microfiber cloth.
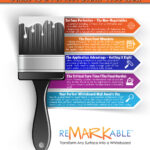
IV. What’s the Best Paint to Use Over a Whiteboard Painted Wall?
- Ten-year performance guarantee
- An average cost of $2.30/sq ft of writing area vs. $20/sq ft for traditional whiteboards
- Compliance with strict Leadership in Energy and Environmental Design (LEED) standards; ultra-low in volatile organic compounds (VOCs)
- Certified as safe for use in schools
- Odorless
- Available in white and clear versions
- Smooth, easy-to-erase finish
- Expert US-based customer support team
V. Alternative Options
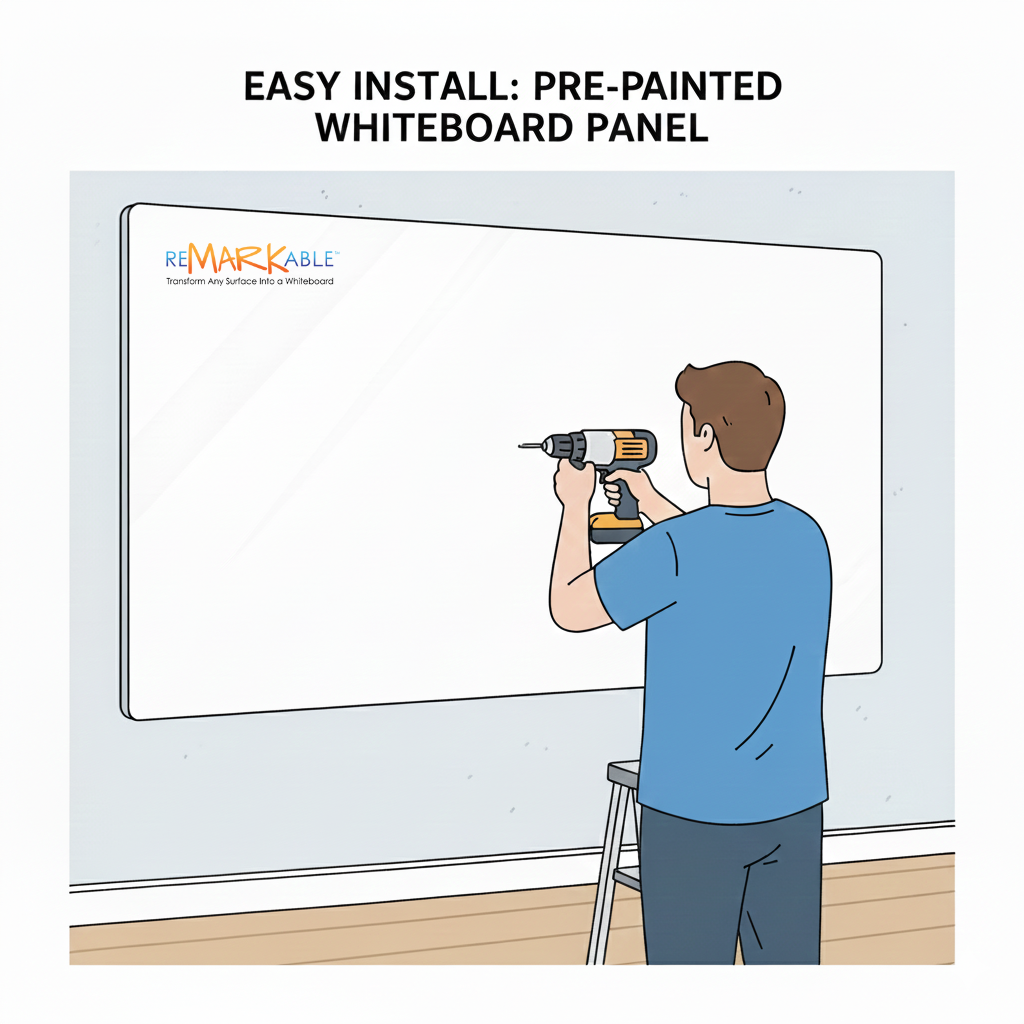
1. Install a Pre-Painted ReMARKable Whiteboard Panel
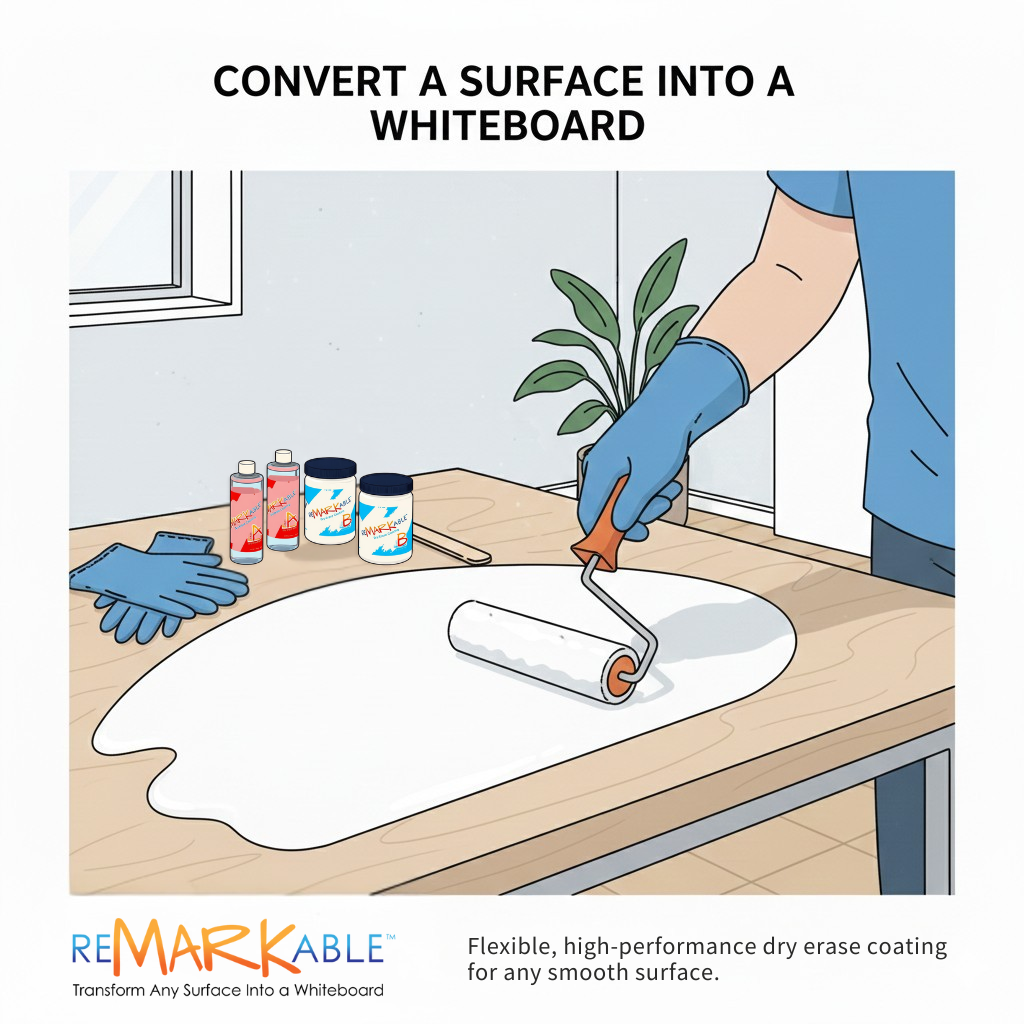
2. Convert an Existing Smooth Surface into a Whiteboard Panel Using ReMARKable
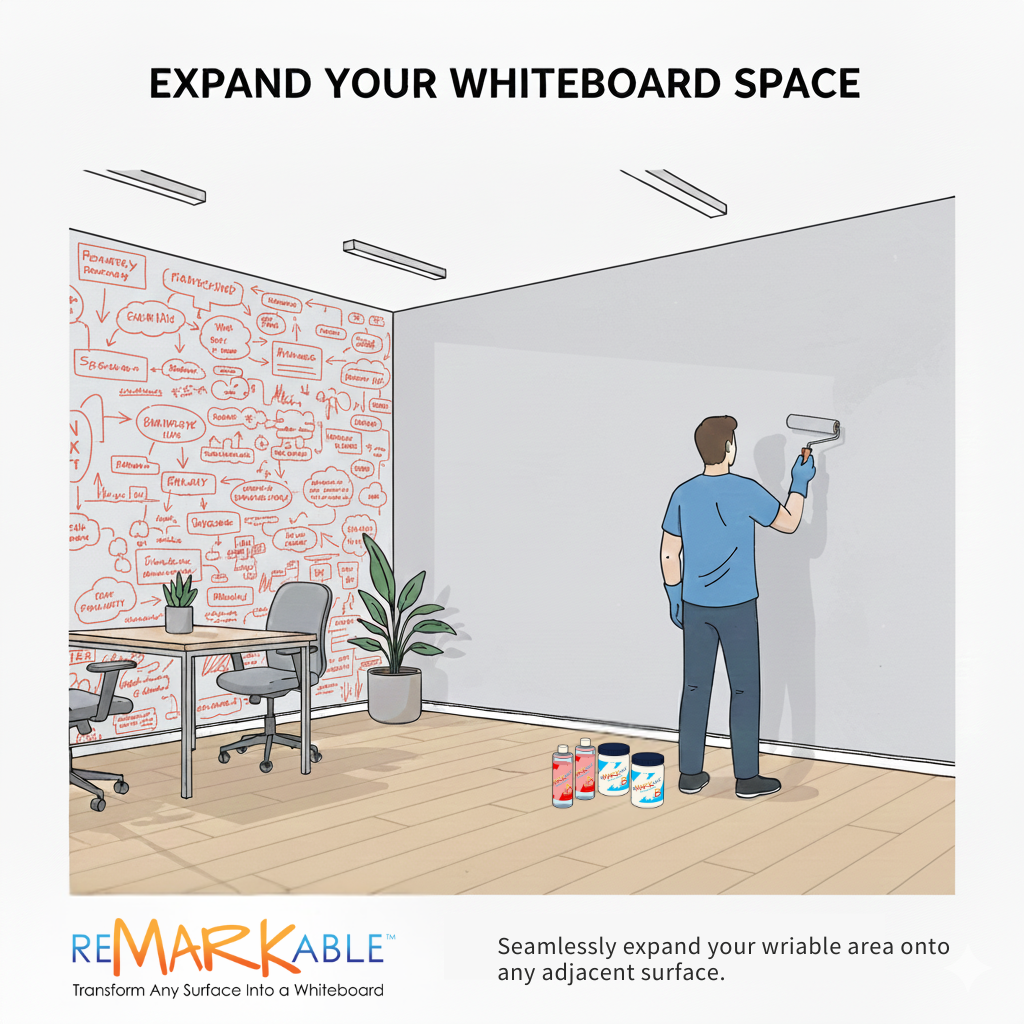
3. Add a New Writable Zone Adjacent to the Current Whiteboard Wall
VI: Comparison: Painting Over a Whiteboard Wall vs. Replacing It
- Comparison Table
| Factor | Painting Over With ReMARKable | Replacing With a Traditional Board |
| Cost | ≈ $2.30/sq ft | ≈ $20/sq ft |
| Appearance | Attractive seamless wall | Old school framed board |
| Durability | Ten-plus years; no yellowing/cracking | Shorter lifespan |
| Erasability | Best-in-class | Degrades over time |
| Installation | Simple prep plus rolling | Drilling/mounting required |
| Customization | White or clear; any color base | Limited |
| Coverage | Full walls or custom areas | Fixed board sizes |
| Safety | LEED compliant; low VOCs; odorless | Varies |
Related Questions About Repainting with ReMARKable
How do I prepare my surface before applying ReMARKable™?
Before repainting, repair any dents, divots, or scratches so the wall is as smooth as possible. If the wall was freshly painted, allow at least 24 hours of drying time. Apply white ReMARKable™ over a true white base such as ReMARKable™ Tintable Base Paint. Avoid paints that contain additives like antimicrobials or rheology modifiers, and always test adhesion first.
Do I need a primer?
A separate primer isn’t required. ReMARKable™ Tintable Base Paint acts as both primer and paint in one, creating the ideal foundation for the whiteboard coating.
What color is ReMARKable™ when it dries?
ReMARKable™ is available in both white and clear finishes. Use white over a white wall for a traditional whiteboard look, or apply clear over any latex wall color to create a writable surface that matches your décor.
Can ReMARKable™ be sprayed?
For the smoothest finish, use a ¼-inch microfiber roller instead of spraying. This ensures even coverage and prevents surface imperfections.
How can I remove ReMARKable™ from a surface?
If you ever wish to repaint or change your wall, lightly sand the surface, apply a primer, and paint as you would a normal wall.
How soon can I use the ReMARKable™ surface?
Allow the coating to cure for 48 hours before writing. Using markers before it’s fully dry can permanently damage the finish.
How long will ReMARKable™ last?
With proper care and maintenance, ReMARKable™ retains its erasability for 10 years or more without cracking, peeling, staining, or yellowing.
If you currently have a whiteboard wall and wish to refurbish it with premium ReMARKable Whiteboard Paint, please get in touch with our experienced customer care representatives at (800) 936-2159 to answer any questions and get personalized help to get your project started.


![Giant Leaps Forward Require Big Spaces. [Leap Year Sale Event!]](https://www.remarkablecoating.com/wp-content/uploads/2016/02/Giant-Leaps-ForwardRequire-Big-Spaces-440x264.jpg)


![30% Off St Patrick’s Day Sale! [Details Inside]](https://www.remarkablecoating.com/wp-content/uploads/2016/03/Glorious-1-440x264.png)

![Drive Your Organization Into Openness and Watch it Expand [20% Off Whiteboard Paint]](https://www.remarkablecoating.com/wp-content/uploads/2016/04/Drive-Your-Organization-Into-Openness-and-Watch-It-Expand.-1-440x264.jpg)


![ReMARKable’s Winter Sale is Here! [25% Off + Free Shipping]](https://www.remarkablecoating.com/wp-content/uploads/2018/01/Red-Tag-Winter-Fashion-Facebook-Post-1-440x264.png)


![ReMARKable Summer Sale 2018 [28% Off Whiteboard Paint]](https://www.remarkablecoating.com/wp-content/uploads/2018/06/Blue-Simple-Line-Beach-Facebook-Post-1-440x264.png)


0 Comments