How to Restore a Whiteboard
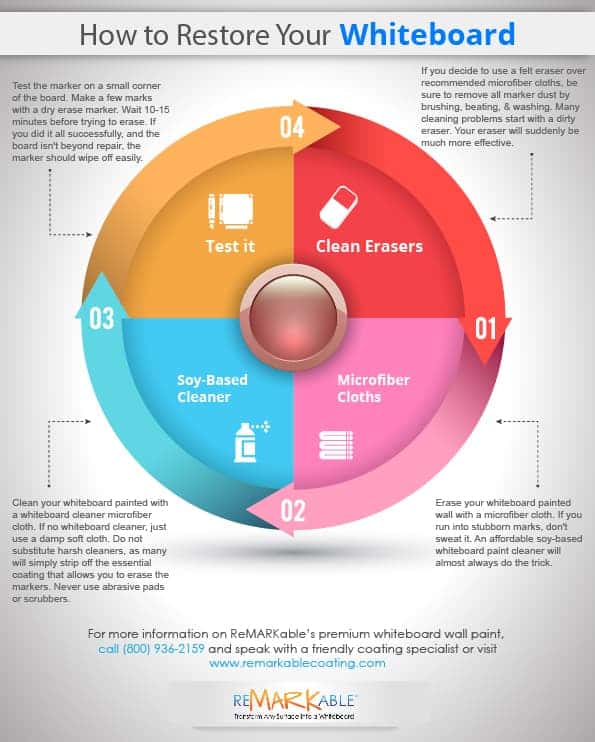
To restore your whiteboard’s full dry-erase capacity, try these simple methods:
- Thoroughly clean your erasers, then use them to wipe the whiteboard painted surface. Clean erasers help remove built-up residue that causes ghosting.
- Use a clean microfiber cloth to gently wipe the board, removing light stains without damaging the surface.
- For tougher marks, dampen a clean microfiber cloth with water or a water-based whiteboard cleaner and wipe the surface to restore its smooth, writable finish.
Regularly following these steps will keep your whiteboard fresh and easy to write on.
Clean Your Whiteboards Erasers
If you decide to use a felt eraser instead of the recommended microfiber cloths to clean your whiteboard painted wall, be sure to remove all of the built-up marker dust from the eraser beforehand. When whiteboard erasers become overloaded with ink, they can no longer erase efficiently. Many of the problems associated with cleaning whiteboard painted surfaces begin with such dirty erasers, but after being thoroughly cleaned, your eraser will suddenly become much more effective and your whiteboard surface easier to erase. You can try brushing, beating, and/or washing your eraser to get it clean.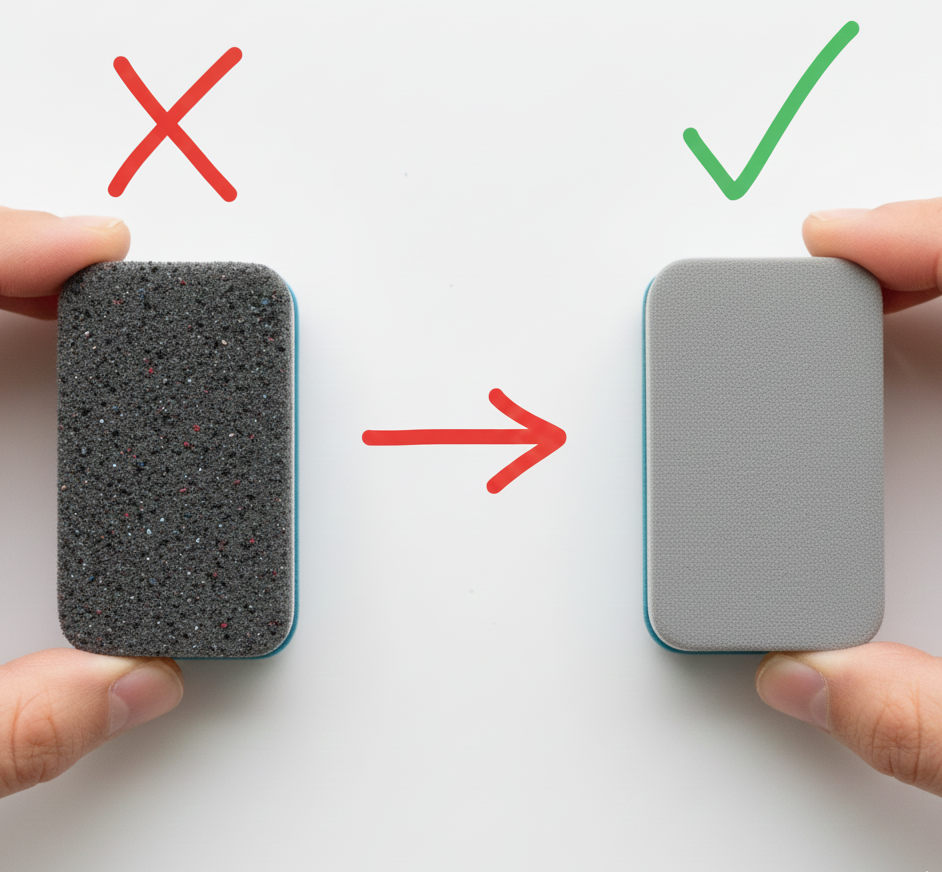
Whiteboard erasers that are used frequently quickly fill up with dried marker ink. Although many people simply replace these dirty erasers, they can be easily cleaned to help them last longer and cut down on more non-recyclable waste material ending up in a landfill before its time. Use the following methods to keep your whiteboard wall eraser clean, and help it to last longer, thus saving you money and reducing unnecessary trash prematurely entering the environment.
Felt whiteboard erasers have tiny lengthwise slits that tend to collect dry erase marker ink, and this can lead to smearing and smudging on your whiteboard coated surface. Nearly all of the dry ink particles can be removed from the felt in your eraser by simply brushing it off with a soft-bristled hairbrush or baby brush that you don’t mind getting stained with ink dust. Start by very gently brushing from top to bottom of the felt surface in a circular motion. Go from the top of the eraser and brush all the way to the end several times until you remove as much of the ink dust as possible, and then repeat the process if needed. In cases where the eraser is not totally packed with dry erase ink, this technique should clean the eraser thoroughly enough so that it can be used again on your whiteboard surface.
If brushing alone doesn’t do the trick in thoroughly cleaning your eraser, and a deeper cleaning is necessary, you can try washing it with water alone or with water and a mild detergent like a bleach-free dish liquid made from plant-based ingredients. First, dip the brush in the water and detergent mixture and use it to gently scrub the felt of the eraser. It’s best to again go from top to bottom, scrubbing with a circular action. Then rinse the felt completely with cold water. To get rid of any excess water, compress the eraser on a cloth towel or several paper towels. Repeat this procedure a few times until you release as much of the water as you can. Let the felt in your eraser dry thoroughly, preferably in the sun, or by using a hairdryer set to its lowest heat setting or on the ”cool shot” setting. Make sure not to apply a lot of heat to the eraser because this can ruin its ability to remove ink. After the eraser is dry, use the brush and gently brush the eraser to restore the felt pile. Avoid the use of harsh chemical cleaners or hot water on the felt part of the eraser and clean the eraser only when you feel it’s necessary because it smudges when you use it. Most brands of whiteboard dry ink erasers aren’t made to withstand a lot of cleaning so you might have to replace yours after it’s been cleaned a few times.
Microfiber Cloths Clean Whiteboards Best
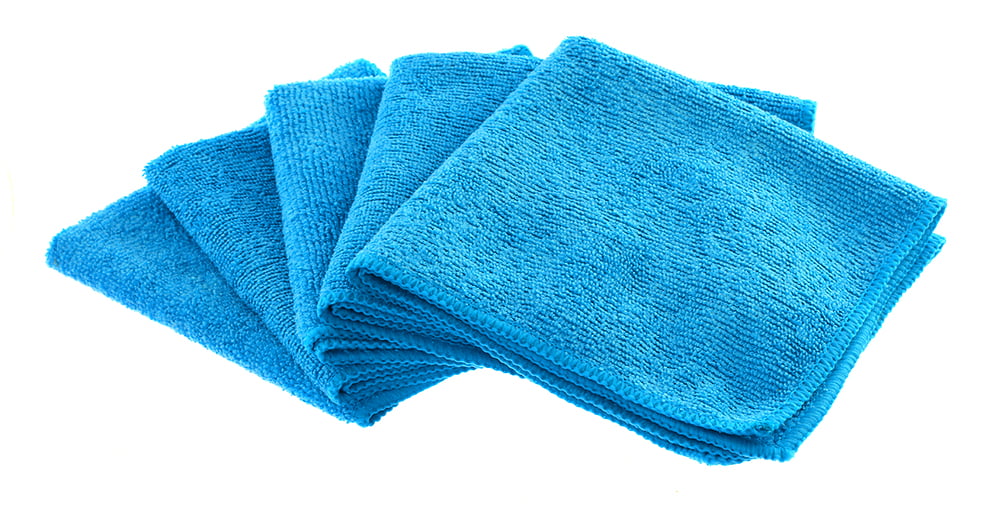
It’s best to always erase your whiteboard painted wall with a microfiber cloth, mitt, or towel. If you run into some stubborn marks on your wall, don’t be concerned. An inexpensive water-based whiteboard cleaner on a microfiber cloth will almost always do the trick in removing them. Also, when installed properly and you only use low-odor dry erase markers, your high-end whiteboard coated surface will always erase easily with microfiber materials.
As with whiteboard erasers, microfiber cloths need to be cleaned periodically. When doing so, it’s best to first shake out the excess dry-erase ink particles by hand, and then allow the dirty cloths to soak for a time in cool or warm water (never hot). Then move the cloths around in the water to loosen up the dirt and grime, rinse the cloths thoroughly, and let them air dry or dry them on the cold or lowest possible heat setting on your automatic dryer. This gentle drying method is necessary because microfiber materials can be damaged when exposed to heat.
If you prefer to clean your microfiber materials in the washing machine, it’s highly recommended that you wash them together in a separate load, but if you absolutely have to mix them with other items, make certain it’s with synthetic materials that don’t produce lint. Cotton is definitely a material to avoid here, as it generates a lot of lint. Wash the microfiber items in cold or warm water without laundry detergent or fabric softener. Afterward, it’s again best to let the cloths air dry, or if necessary dry them on the cold or lowest possible heat setting in your automatic dryer.
Water-based Cleaners are the Safest on Whiteboards
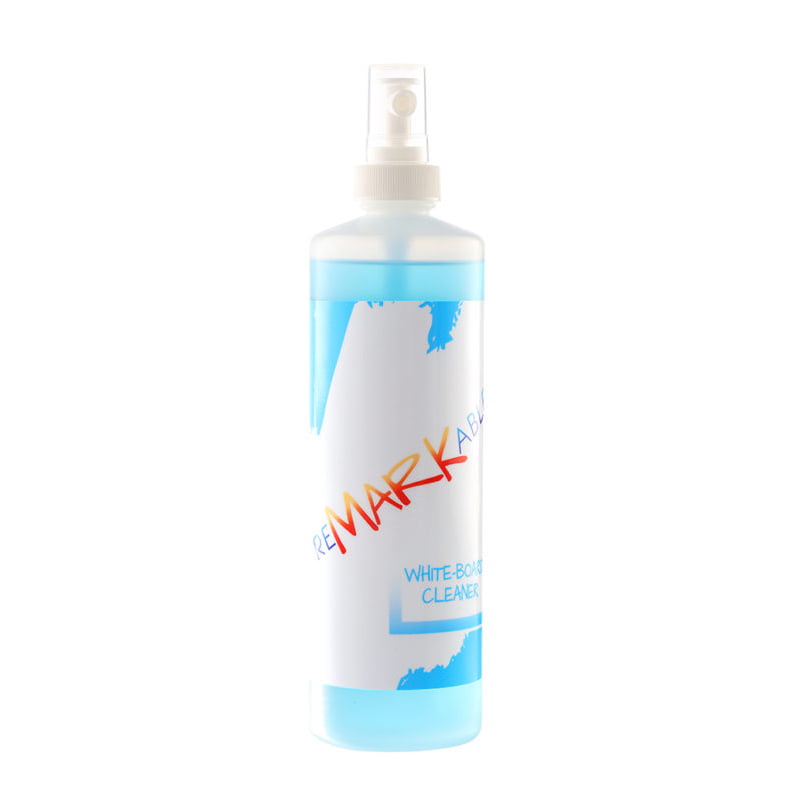 It’s important that you only clean your whiteboard painted wall with a water-based whiteboard cleaner and a microfiber cloth. Water-based cleaners are safest to use because they won’t adversely affect the quality of your whiteboard coated surface. They’re also eco-friendly and virtually odor-free, and can quickly clean off low-odor varieties of ink from an intact whiteboard coated surface. If you don’t have a water-based whiteboard cleaner on hand, just use a damp soft cloth. Remember not to try using harsh or abrasive cleaners instead of a water-based cleaner, as many will simply strip off the essential coating that allows you to easily erase marker ink. Also, never use abrasive pads or scrubbers on your whiteboard painted surface, as doing so can also strip the sheen from the surface and make markings difficult to erase completely.
A high-end water-based whiteboard surface cleaner such as our proprietary brand will be able to remove all the built-up residue on your surface, thus restoring its outstanding erasability qualities and doing away with any ghosting, shadowing, staining or smudging you may be experiencing. Just spray the cleaner on then wipe the surface with a microfiber cloth, towel or mitt. Follow up by wiping again with a water-moistened cloth. Our cleaner is virtually odorless, giving you the benefit of not causing your team members to vacate the room while you clean your whiteboard surface. This quality along with the powerful cleansing ability of our product will likely inspire your team to voluntarily maintain your whiteboard coated surface whenever needed. Our cleaner is highly effective at removing dry erase marker ink and residue with little effort while featuring user- and eco-friendly ingredients.
Test It
After cleaning, test your whiteboard surface’s erasability by making a few marks with a dry erase marker on a small section in one corner of the wall. Wait for ten to fifteen minutes before trying to erase the markings. If you were successful and the markings come off easily, the coated surface has not been compromised and is not beyond repair, so you should be able to wipe off marker ink easily and use your whiteboard wall as usual until the next cleaning. To continue maintaining the great dry-erase qualities of your whiteboard painted wall, remember to clean it from time to time with a good quality water-based cleaner, according to the amount of regular use it receives. Your whiteboard painted wall will now have returned to its normal level of high erasability and be able to provide you with ten-plus years of reliable service.


![Giant Leaps Forward Require Big Spaces. [Leap Year Sale Event!]](https://www.remarkablecoating.com/wp-content/uploads/2016/02/Giant-Leaps-ForwardRequire-Big-Spaces-440x264.jpg)


![30% Off St Patrick’s Day Sale! [Details Inside]](https://www.remarkablecoating.com/wp-content/uploads/2016/03/Glorious-1-440x264.png)

![Drive Your Organization Into Openness and Watch it Expand [20% Off Whiteboard Paint]](https://www.remarkablecoating.com/wp-content/uploads/2016/04/Drive-Your-Organization-Into-Openness-and-Watch-It-Expand.-1-440x264.jpg)


![ReMARKable’s Winter Sale is Here! [25% Off + Free Shipping]](https://www.remarkablecoating.com/wp-content/uploads/2018/01/Red-Tag-Winter-Fashion-Facebook-Post-1-440x264.png)


![ReMARKable Summer Sale 2018 [28% Off Whiteboard Paint]](https://www.remarkablecoating.com/wp-content/uploads/2018/06/Blue-Simple-Line-Beach-Facebook-Post-1-440x264.png)


0 Comments