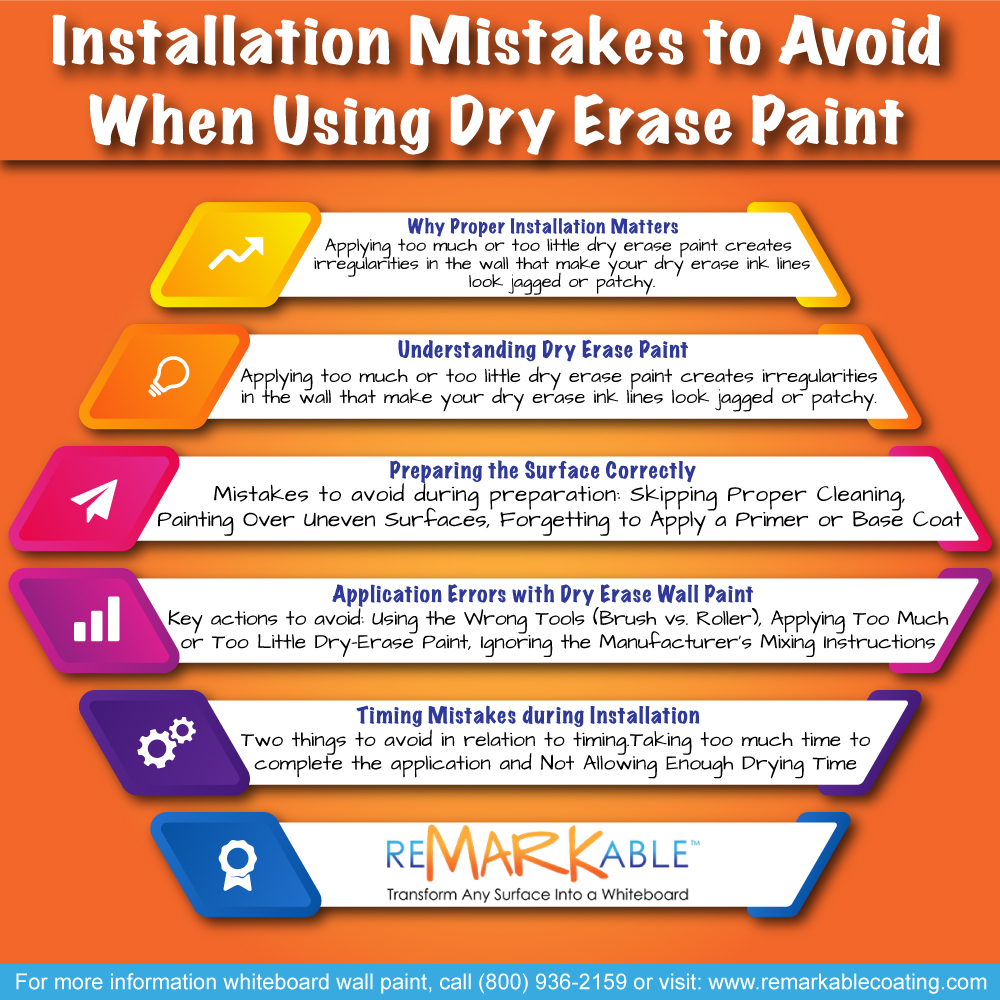
Installation Mistakes to Avoid When Using Dry Erase Paint
If you take the appropriate steps to prepare your surface beforehand, installing premium dry erase paint can be a quick, trouble-free, and enjoyable process. Besides surface preparation, other factors you’ll need to consider are using the right tools, knowing how much dry erase paint to apply, using the proper mixing technique, and operating within the right time frame. In the following article, we’ll look at these and other elements that go into creating an ideal dry erase writing surface for your home, school, or business.https://www.remarkablecoating.com/
1. Why Proper Installation Matters
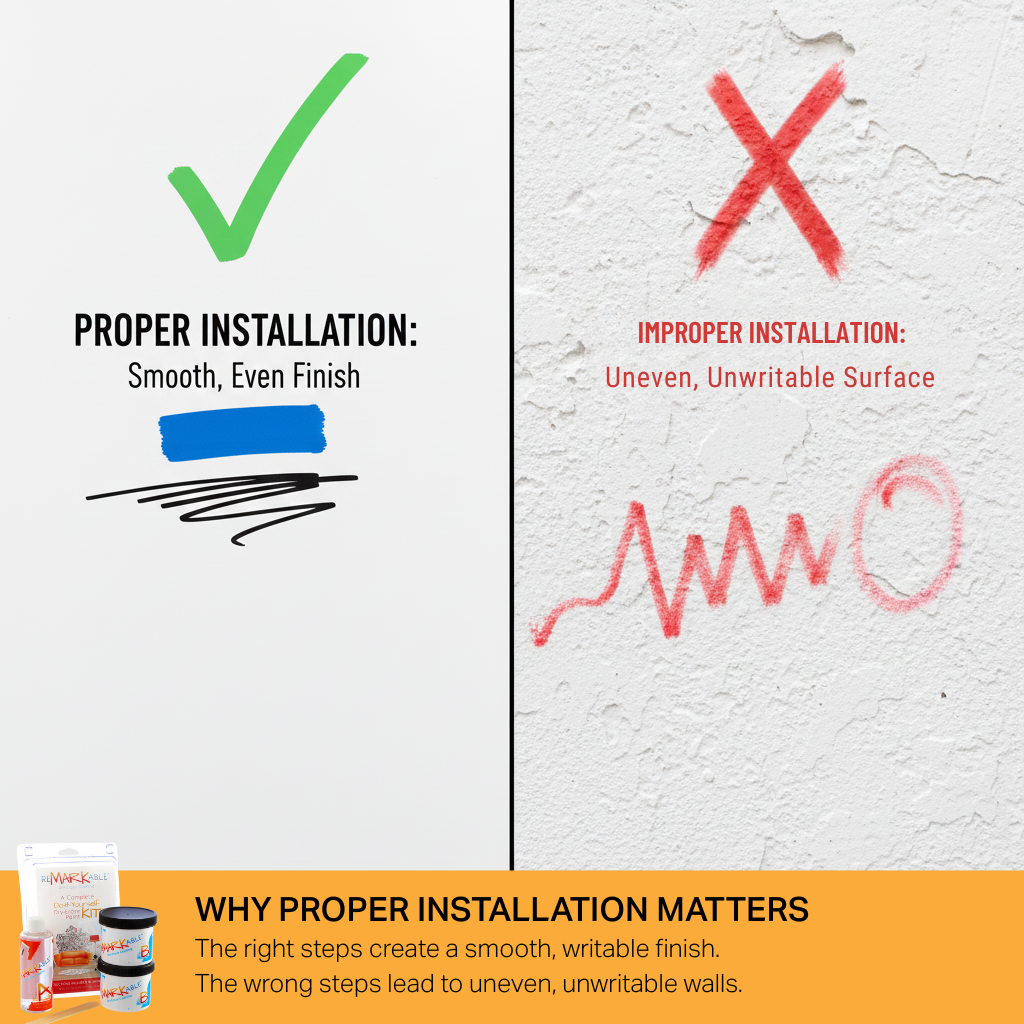
Before applying dry-erase paint to your walls, knowing how to do it correctly makes all the difference. That’s because if you don’t take the appropriate steps, you’ll end up with an uneven and possibly unwritable surface. For example, applying too much or too little dry erase paint creates irregularities in the wall that make your dry erase ink lines look jagged or patchy. This, in turn, produces an unattractive appearance and makes it hard to read your markings.
2. Understanding Dry Erase Paint
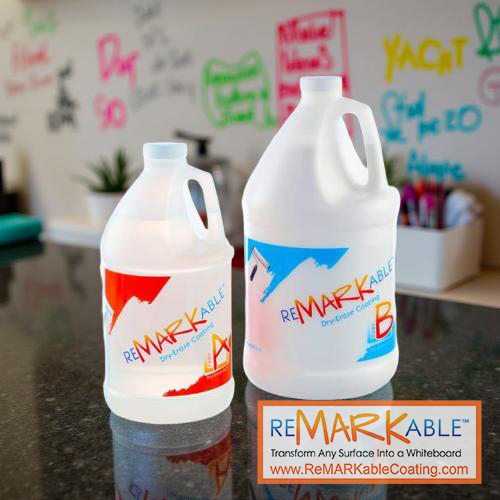 Premium dry erase wall paint differs from house paints in several ways. Despite its name, dry erase paint is actually a high-performance, eco-friendly, virtually odorless, water-based coating that’s extremely low in toxic chemicals called volatile organic compounds (VOCs). Additionally, dry erase paint comes in two parts, exhibits outstanding adhesion when applied, and yields a highly durable writing surface.
When compared to other dry erase paints on the market, top-quality ReMARKable dry erase paint has many superior qualities. For example, it retains its bright white color for ten or more years of regular use. In contrast, other brands, many of which are epoxy-based, may start to turn yellow in as few as six months after application. This makes dry erase markings on the surface hard to read.
3. Preparing the Surface Correctly
Proper surface preparation is crucial for a successful application of premium dry erase wall paint. The following are three common mistakes to avoid during the preparation process:
-
Skipping Proper Cleaning
With dry erase paint, dust is the greatest enemy of adhesion. So, be sure to remove all hair, lint, and other dirt or debris from your surface before starting to apply the paint. Microfiber fabrics are ideal for this purpose because they can remove dust and other types of debris down to the microscopic level.
This is due to their exceptionally fine fibers, which allow them to leave behind no lint, dust or bacteria after use. In fact, studies have shown that when microfiber fabrics are used for cleaning, 99% of the bacteria present on a surface are eliminated. Besides, microfiber cloth has electrostatic properties that give it a remarkable ability to attract and hang onto the most minuscule dirt and dust particles.
-
Painting Over Uneven Surfaces
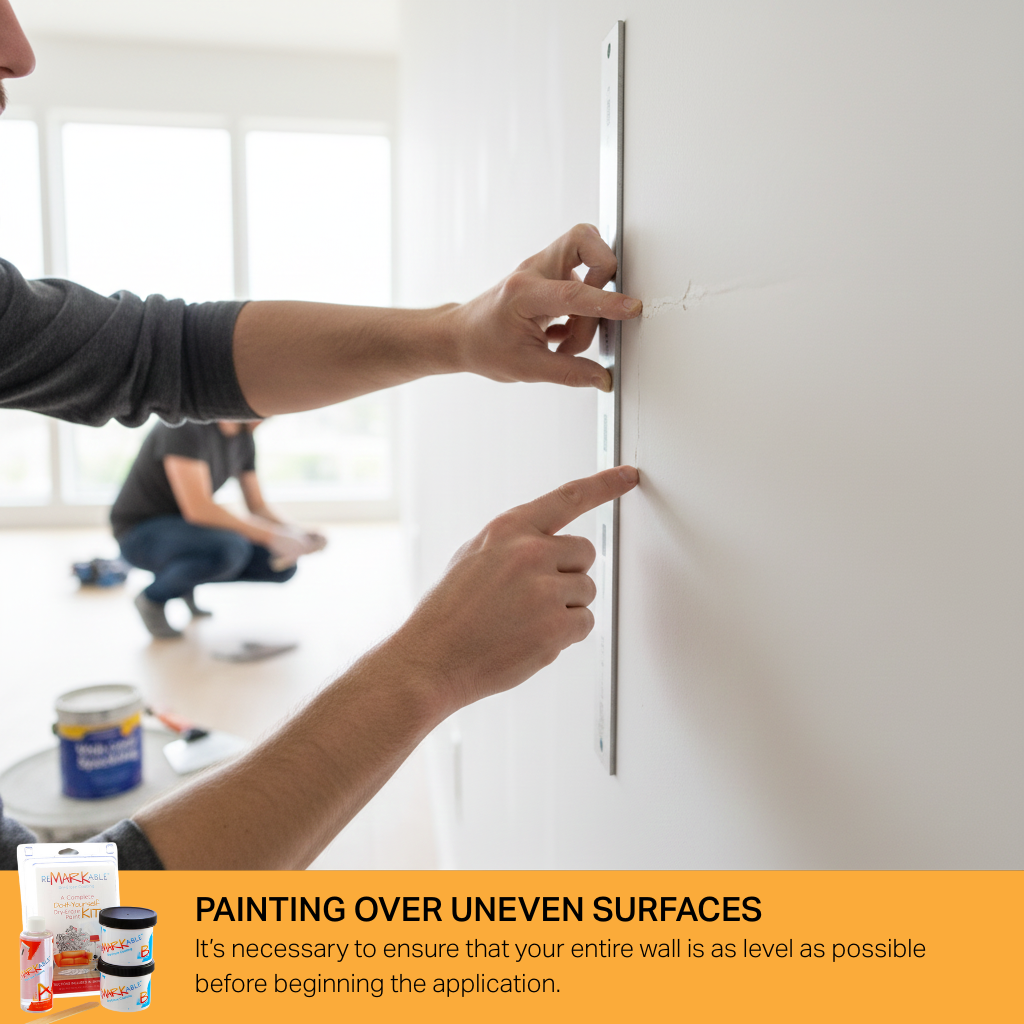
One of the most essential steps in successfully applying dry erase paint is starting with a perfectly smooth substrate. Therefore, it’s necessary to ensure that your entire wall is as level as possible before beginning your application. This step involves thoroughly checking your surface for any holes, cracks, cuts, or other flaws.
These areas need to be filled in with spackling compound, a product mainly used to fill in holes and other imperfections in drywall or plastered walls. Afterwards, make sure your wall is nice and smooth all over by giving it a quick check with your hand. If any areas still feel uneven, sand them with 220-grit sandpaper. Then wipe down the entire surface with a damp microfiber cloth. Follow this up with another wipe-down using a dry microfiber cloth.
-
Forgetting to Apply a Primer or Base Coat
Besides uniform smoothness, you must apply a layer of primer and then a base coat to your surface. Alternatively, you can install our proprietary ReMARKable Tintable Base Paint. This product consists of a base coat and primer all in one, so it eliminates the need to apply a separate primer and base coat.
If you choose to use a separate primer and base coat, you’ll need first to prepare the surface with a quality white primer. Then follow up with an eco-friendly base coat, ideally a high-quality brand of satin or eggshell water-based enamel. If you plan to apply premium dry erase paint over a dark-colored wall, you’ll definitely need to prime it first with white primer.
4. Application Errors with Dry Erase Wall Paint
When you’re ready to apply the dry erase paint, these are some key actions to avoid if you want to create a functional, attractive, long-lasting dry erase painted wall for your home, classroom, or business.
-
Using the Wrong Tools (Brush vs. Roller)
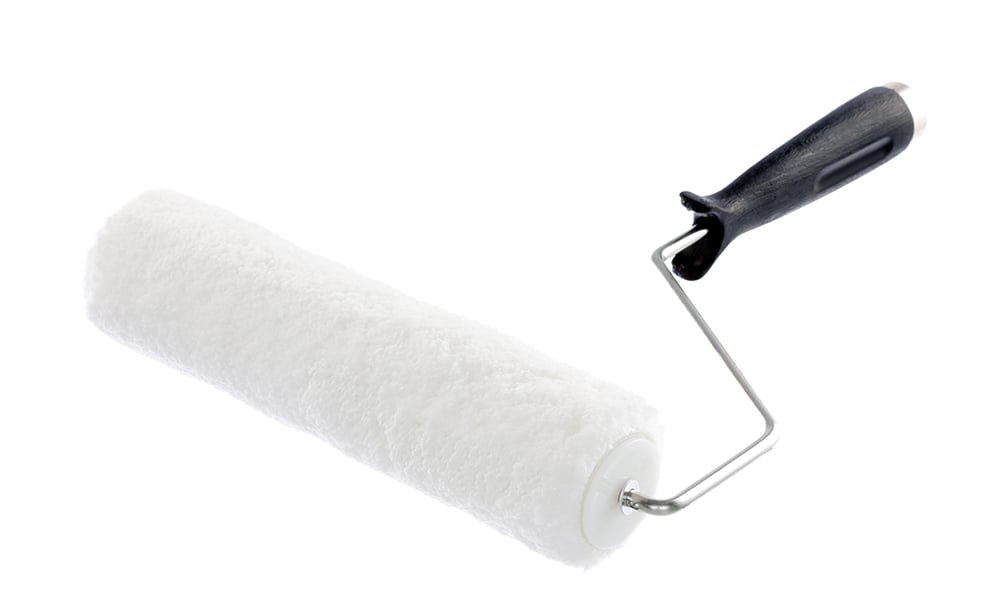 Unlike house paint, which can be applied with either a paint brush or roller, premium dry erase paint should only be applied with a roller. Specifically, it needs to be a nine-inch microfiber roller with a sleeve that has a 1/4” or 3/8” nap.
It’s wise to remove the lint from the sleeve by wrapping masking tape around it in a spiraling pattern from top to bottom. After you’ve covered the whole sleeve, gently remove the tape to remove any excess lint that could affect the smoothness of your surface after the paint cures. Once you’ve removed the tape, the surplus lint will have been picked up from the roller sleeve. You should complete this process before mixing parts A and B of your dry erase paint.
Also, avoid using a foam roller sleeve or any other type of synthetic roller cover. These types of sleeves would make you apply the paint too sparsely, resulting in an unsuitable writing surface after curing.
-
Applying Too Much or Too Little Dry Erase Paint
Also, remember not to “stretch” the dry erase paint by spreading it out too thinly. This will produce an irregular and unattractive surface that’s hard to write on and erase. On the other hand, avoid applying too much paint, as this can cause drip marks to appear after the paint dries.
It’s okay to apply generous amounts of dry erase paint, but be careful to catch any drips as soon as they appear during application. Going back and trying to fix drips by rolling over them later can lead to a botched surface. This will cause issues with writing and erasing, and spoil the look of your wall. So, watch out for drips while applying the dry erase wall paint and correct them as soon as they occur.
-
Ignoring the Manufacturer’s Mixing Instructions
Top-quality dry erase paint consists of a two-part formula that has to be carefully hand-mixed according to the manufacturer’s instructions included in your paint kit.
5. Timing Mistakes during Installation
Time is also a crucial factor in properly installing premium dry erase paint. Below are two things to avoid in relation to timing.
-
Taking too much time to complete the application
It’s essential to start applying the dry erase paint right after you mix parts A and B and pour the mixture into the rolling tray that comes with each kit. Once you start painting, you’ll need to finish within the 40- to 45-minute time window mentioned in the instructions. This is critical because dry erase paint has a so-called “pot life.” This is the period starting from when parts A and B are mixed to the time when the paint starts to congeal and become unusable.
-
Not Allowing Enough Drying Time
Premium dry erase wall paint boasts numerous qualities that make it one of the best products of its kind on the market. One of them is its short 48-hour dry time. Dry time is a key factor in determining the quality of a paint product. This time can vary from 48 hours for top-quality products like our water-based paint to seven days for lower-quality epoxy-based dry erase paints.
That being said, you should avoid using your painted surface before it has had a chance to cure for at least two days. Doing so could cause issues with the appearance and functionality of your dry erase wall. So, go ahead and use your freshly painted surface at least 48 hours after application. But remember to tell all who might use the wall about this critical curing period.


![Giant Leaps Forward Require Big Spaces. [Leap Year Sale Event!]](https://www.remarkablecoating.com/wp-content/uploads/2016/02/Giant-Leaps-ForwardRequire-Big-Spaces-440x264.jpg)


![30% Off St Patrick’s Day Sale! [Details Inside]](https://www.remarkablecoating.com/wp-content/uploads/2016/03/Glorious-1-440x264.png)

![Drive Your Organization Into Openness and Watch it Expand [20% Off Whiteboard Paint]](https://www.remarkablecoating.com/wp-content/uploads/2016/04/Drive-Your-Organization-Into-Openness-and-Watch-It-Expand.-1-440x264.jpg)


![ReMARKable’s Winter Sale is Here! [25% Off + Free Shipping]](https://www.remarkablecoating.com/wp-content/uploads/2018/01/Red-Tag-Winter-Fashion-Facebook-Post-1-440x264.png)


![ReMARKable Summer Sale 2018 [28% Off Whiteboard Paint]](https://www.remarkablecoating.com/wp-content/uploads/2018/06/Blue-Simple-Line-Beach-Facebook-Post-1-440x264.png)


0 Comments