Don’t Buy New Desks: How to Use Whiteboard Paint to Upgrade Your Classroom for Under $400
Home / News / Don’t Buy New Desks: How to Use Whiteboard Paint to Upgrade Your Classroom for Under $400
The Under $400 Classroom Makeover: Why Whiteboard Paint for Classrooms is the Ultimate Budget Hack
When your students are gone for their summer break, your classroom may look a bit tired, but premium whiteboard paint can be your deliverance. With it you can take advantage of the empty classroom opportunity and do a classroom makeover on a budget. Writable desks, a whiteboard wall, and other writable surfaces can greatly enhance your room’s look and functionality for well under $400.
New collaborative furniture is expensive, averaging approximately $15,000+ to outfit a single class. The solution is dry erase paint. It’s not just for walls — it’s the ultimate renovation tool for all your classroom furniture.
In this post, we’ll show you how to use dry erase paint to do your own school facility maintenance. Thus, you’ll make your old desks and chalkboards the centerpieces of an eye-catching, up-to-date learning hub, even if you can’t afford new furniture.
Why “Resurfacing” Beats “Replacing” (The Return-on-Investment Analysis)
Figure 1: Cost comparison of buying 30 new collaborative desks vs. upcycling existing desks with Remarkable Coating
Applying whiteboard paint to existing surfaces saves schools thousands of dollars each year. So, to ensure sustainability and cost effectiveness, don’t consign your old desks to the local landfill. Instead, upcycle them into attractive, highly functional writing tools. Here’s a cost comparison of installing a classroom full of new desks vs. installing whiteboard paint:
The Cost of New Desks
Average cost of a specialized “dry-erase student desk” (collaborative classroom furniture): $350 to $600 per unit.
Average cost to equip a classroom of 30 students: $14, 250.
The Cost of “Upcycling” (Installing Whiteboard Paint):
Average coverage of a 100 sq ft kit: Covers approx. 15 standard student desks (assuming 24”x18” surfaces + waste).
Kits needed for 30 desks: ~ 1
Cost to install premium whiteboard paint: ~$369 (100 sq ft Kit White Version)
Average Savings: ~ 96% compared to buying new dry erase classroom furniture.
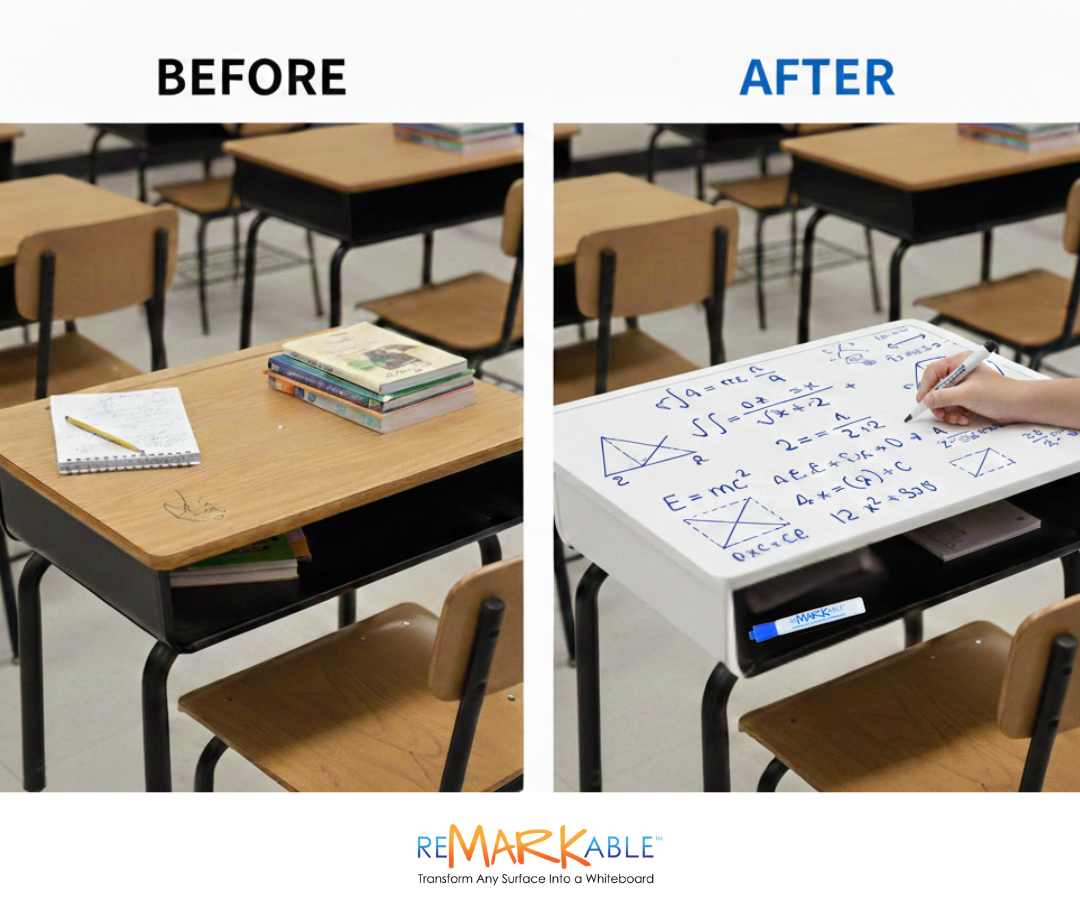
Project #1: The “Thinking Desk” Makeover (Step-by-Step Guide)
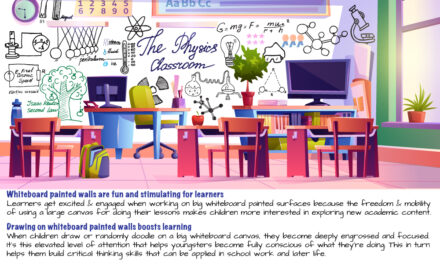
Beyond your classroom walls, writable surfaces such as desks coated with whiteboard paint are helpful instructional aids. They create a lively, interactive atmosphere that boosts student engagement and learning outcomes. Transforming your own and your students’ desks into functional, stylish whiteboard surfaces is surprisingly simple. For a deeper dive, follow our guide on how to transform a desk or tabletop into a whiteboard surface.
Step 1: Prep Your Desks in Advance
Begin by making sure each desk’s surface is clean, dry, and free of dust and grime. For a perfect finish, fill minor flaws, such as cracks or holes, with wood filler. Once dry, lightly sand the surface with 220 grit sandpaper until it’s smooth to the touch.
Step 2: Apply a Primer
Installing a primer is highly recommended for the best paint adhesion. Follow the manufacturer’s directions and use a high-quality primer specially designed for whiteboard paint. If you install ReMARKable Tintable Base Paint at this stage, you can skip step 3 below and avoid applying a separate base coat. That’s because the Tintable Base Paint acts as both a primer and an undercoat.
Step 3: Apply Base Coat
If you opt to install a separate primer, you should also apply a base coat of a top-quality satin or egg shell water-based enamel that’s free of additives like antimicrobial agents and flow modifiers. You can find more data about this topic under question 4 on our FAQ page. Allow the base coat to dry for at least 24 hours before applying the premium whiteboard paint as a top coat.
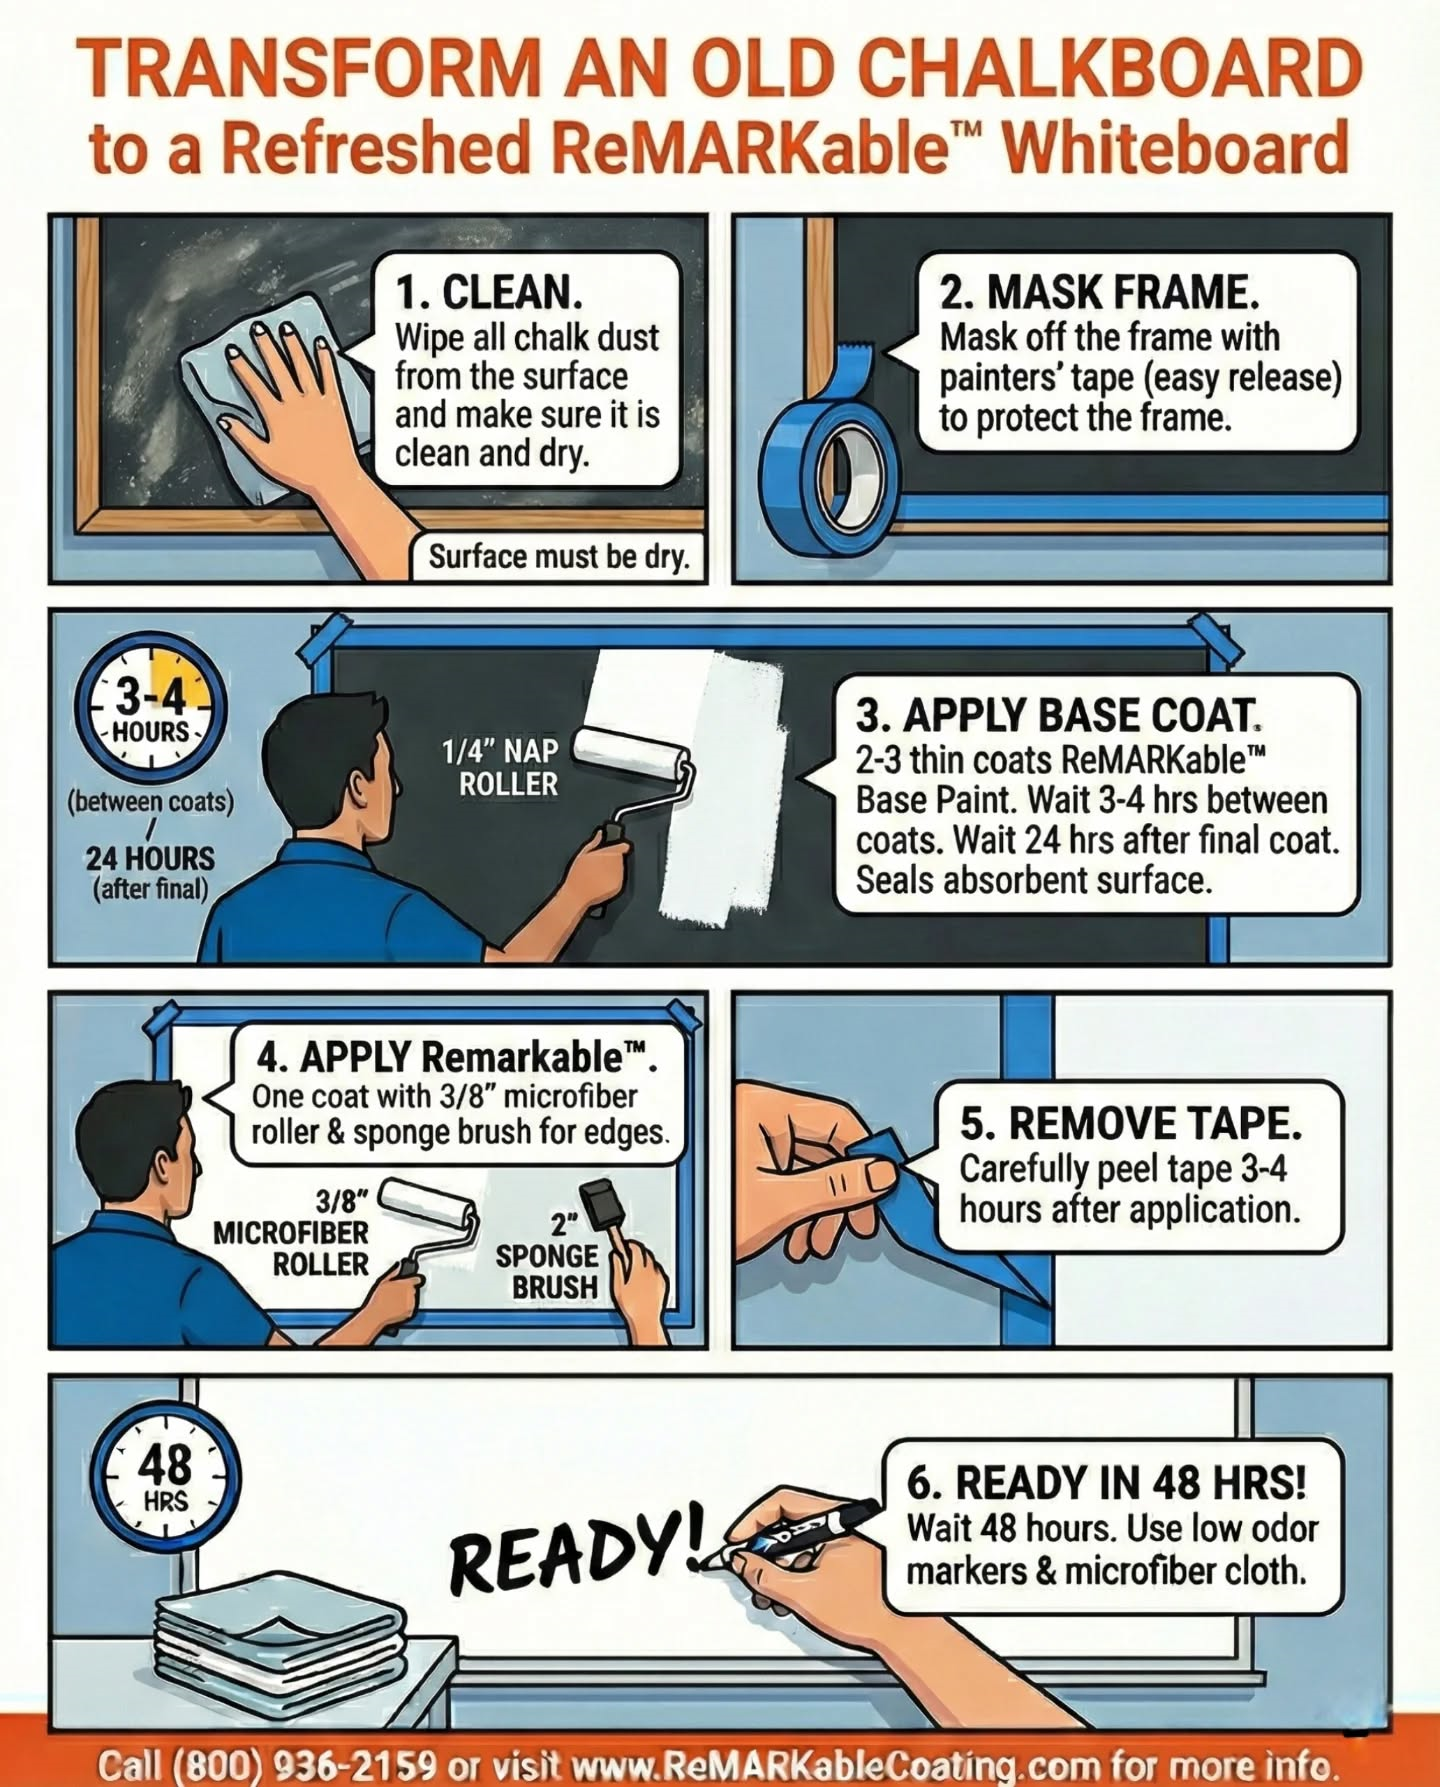
Step 4: Achieve Painting Perfection
After mixing parts A and B according to the manufacturer’s instructions, first apply the whiteboard paint to the edges of your desk with a two-inch sponge paint brush. Next, switch to a high-quality microfiber paint roller with a 1/4-inch or 3/8-inch nap to produce a smooth, consistent coat across the entire surface. Remember that you have a 45-minute time window in which to apply the paint before it starts to congeal and become unusable.
Step 5: Wait a Brief 48 Hours
Allow the whiteboard paint to cure for at least 48 hours before unleashing your inner creativity. If you try to write on the desk before the 48-hour curing time is up, you could damage the finish. Just lightly test a small section of the surface with a low-odor dry-erase marker first before use.
Project #2: The “Ghost-Free” Restoration: Painting Over Chalkboards
You don’t need to take down your dusty old chalkboards. As an alternative, you can follow our specific guide on how to turn a chalkboard into a dry erase board to create a new whiteboard wall directly over the old slate. In this way you’ll eliminate the eternally cloudy look of your chalkboard, which makes written content hard to decipher. In its place you’ll have an attractive whiteboard wall that will resist ghosting and cloudiness so that text and graphics will always be easy to see.
Health and Safety: The Chalk Dust Issue
Restoring your old chalkboards also eliminates chalk dust in the classroom. Traditional chalk dust is a known respiratory irritant. It can trigger asthma attacks and cause issues for students with allergies and for those who wear contact lenses. Electronic devices such as smart boards and computers also accumulate chalk dust, leading to overheating and possible failure. Whiteboard paint entirely eliminates the production of particulate matter (chalk dust), leading to cleaner classroom air.
The Upgrade: Preparatory Work
Before installing premium whiteboard paint on your chalkboard, do the following prep work:
Wipe down the board with a moist microfiber cloth to eliminate chalk residue and dirt.
Let the chalkboard dry thoroughly.
Lightly sand the surface with 220-grit sandpaper to make sure your primer coat adheres properly.
Wipe the surface down again to prepare it for primer application.
Ensure that the board is completely free of dust, because dust is the enemy of adhesion.
Carefully mask off the edges of the blackboard frame with painter’s tape.
Applying ReMARKable Tintable Base Paint or a Primer Suitable for Slate
Next, we highly recommend coating your chalkboard with ReMARKable Tintable Base Paint, which includes a primer and base paint all in one. That way, you’ll save time and resources by not having to apply two different products, a primer and a base coat. Otherwise, you can apply a high-quality primer to your chalkboard designed for use on slate. The goal of doing so is to thoroughly seal the highly porous chalkboard slate surface.
If you applied a primer from a different manufacturer, you’ll now need to apply a high-quality water-based satin or eggshell base paint before installing the whiteboard paint. In this case, let the base paint dry for at least 24 hours before installing the dry erase paint.
After that, mix parts A and B according to the manufacturer’s instructions, and apply the premium whiteboard paint with a microfiber roller as described above. Once the dry erase paint has cured, you will have restored your old chalkboard with a superior writing surface that’s guaranteed to last for ten-plus years.
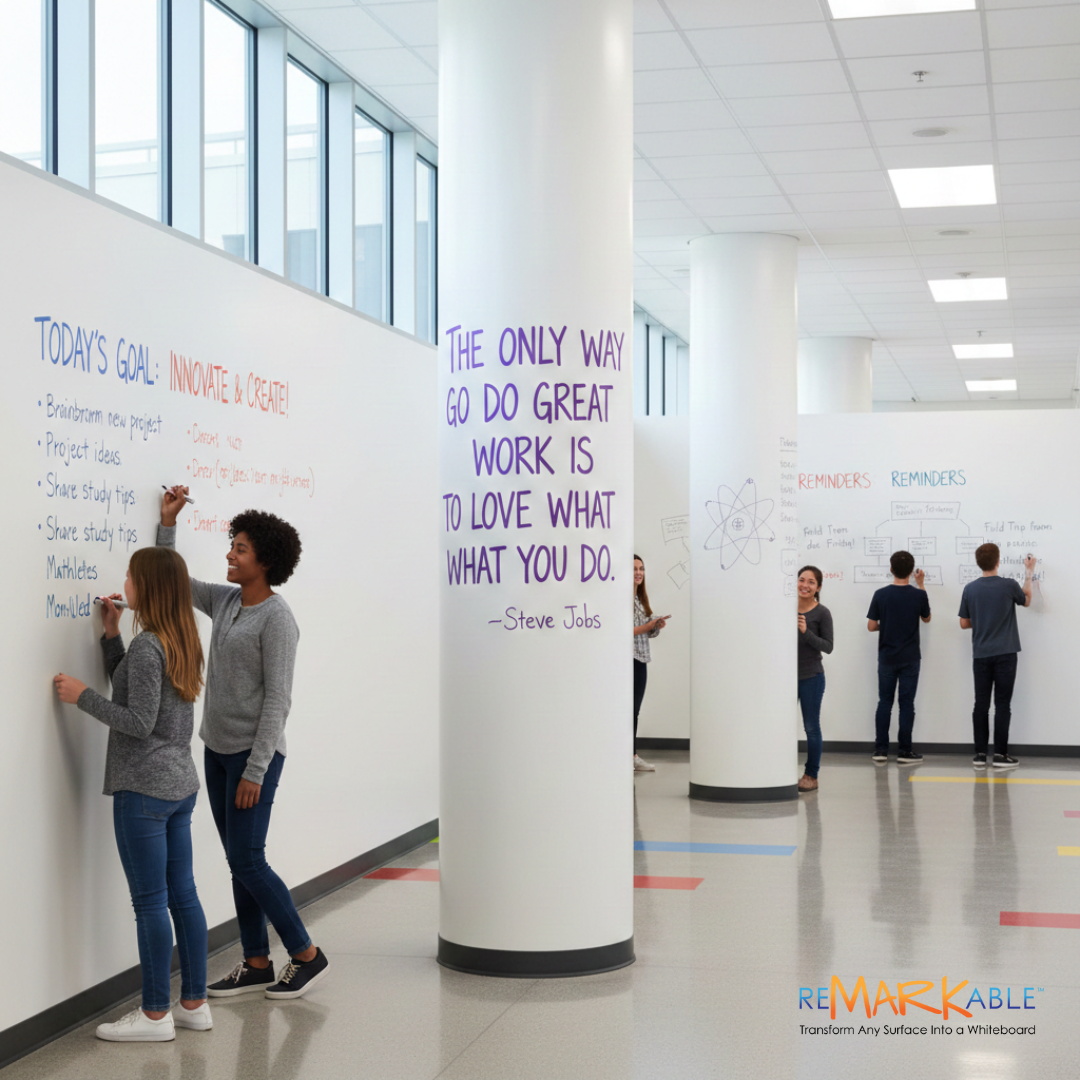
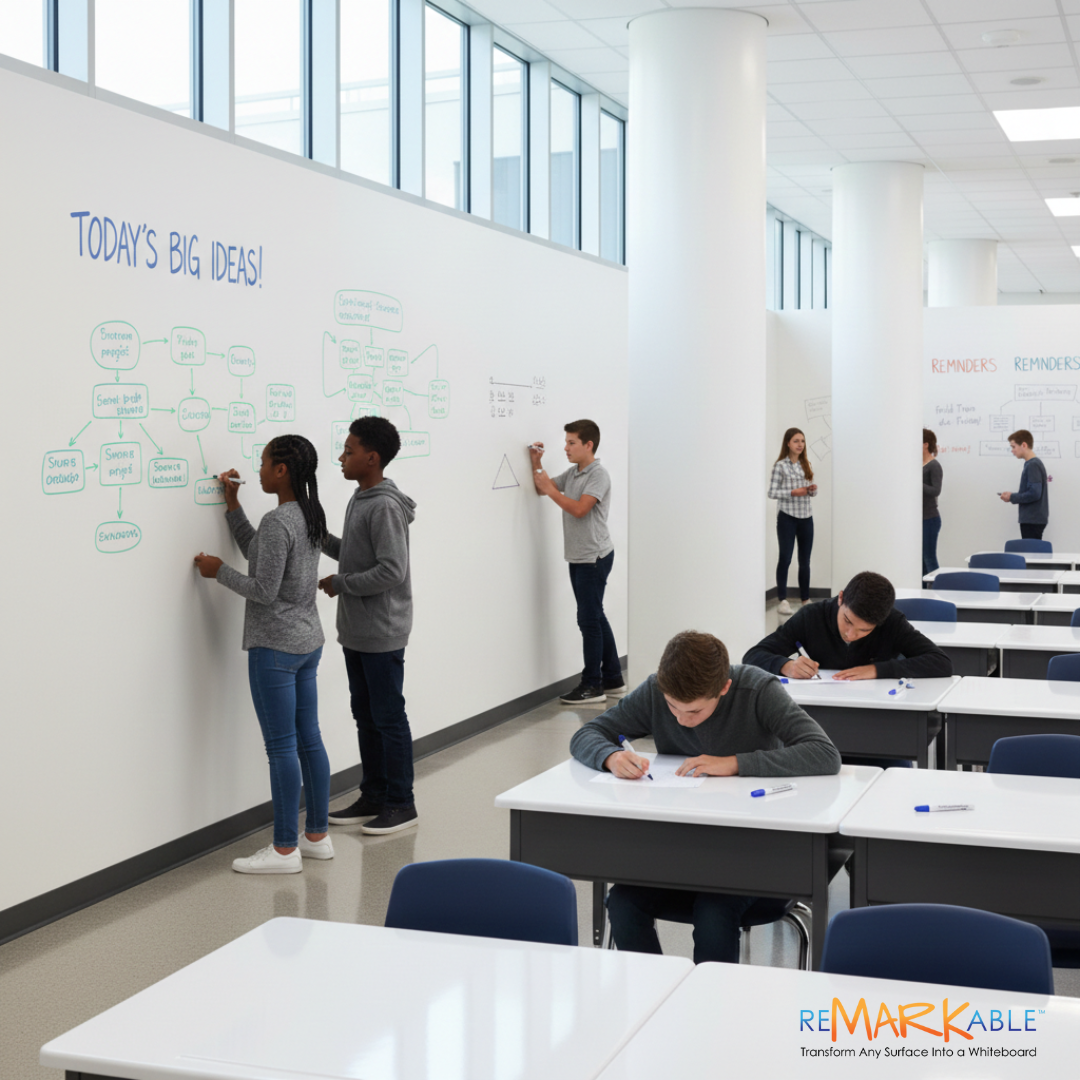
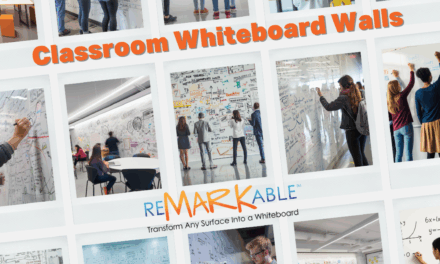
Project #3: Activating “Dead Spaces” (Hallways and Pillars)
Among the other areas for applying premium whiteboard paint are hallway walls and pillars. Installing the paint in these places will expand the collaborative capacity of your classroom by providing a greater number of dry erase surfaces for communication. You can use these additional areas for posting reminders, inspirational quotes, and other content. Students can use the surfaces to write comments on course material, offer suggestions for improvement, and the like.
What the Experts Say: The Instructional Power of Erasable Surfaces
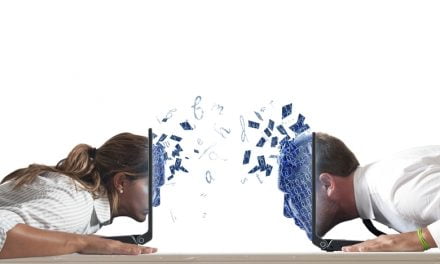
Besides saving you money and modernizing the look and functionality of your classroom, installing whiteboard paint has great pedagogical benefits. According to Dr. Peter Liljedahl, author of Building Thinking Classrooms in Mathematics, students who work on erasable or vertical non-permanent surfaces (VNPS) like whiteboard walls are at an academic advantage.
Dr. Liljedahl’s research shows that learners who use such surfaces begin working sooner, discuss lesson content more, and keep working longer than those who use permanent surfaces, such as notebooks.
Why is this so? It’s because the “non-permanent” quality of VNPS reduces students’ fear of making mistakes. Students are willing to take risks when answering questions because they can wipe away their errors in a few seconds. In contrast, writing on paper feels “final” and thus increases anxiety. As a result, applying whiteboard paint to desks and walls creates a sense of “non-permanent” safety for students’ individual work, enabling quick, “risk-free” brainstorming and problem-solving.
So, based on its cost-effectiveness, health and environmental benefits, and positive effects on student learning, whiteboard paint is a natural choice for your next classroom makeover.
Frequently Asked Questions (FAQs) About Classroom Upcycling
Q: Can I apply whiteboard paint directly over old laminate desks?
A: Yes, but preparation is key. Most classroom desks have a smooth, non-porous laminate finish. To ensure the dry erase paint bonds permanently, you must lightly sand the surface (to create “tooth”) and apply a high-quality bonding primer. Once primed, the whiteboard coating will adhere perfectly and last for 10+ years.
Q: How does this compare to “stick-on” whiteboard films?
A: This is the most common question we get. Adhesive films (stickers) sit on top of the desk and inevitably peel at the corners after a few months of students picking at them. Whiteboard paint chemically bonds to the desk, creating a hard, seamless shell that becomes part of the furniture. It is “student-proof” and will not peel.
Q: Does it smell? Is it safe to apply in a school?
A: Remarkable Coating is a professional-grade product designed for indoor use. While all paints have some odor during application, our formula is low-VOC and safe for occupied buildings. However, we always recommend applying it during school breaks (Summer/Winter) or weekends to ensure proper ventilation and undisturbed curing time.
Q: How long until students can use the desks?
A: Patience pays off! The surface will be dry to the touch in a few hours, but it needs 3 to 7 days to fully cure (harden) before you write on it. If you write on it too soon, you risk permanent staining. This is why the summer break is the ideal time for this project.
Q: Will the white desks get stained (ghosting) over time?
A: Not if you use a high-quality coating. “Ghosting” happens when ink gets trapped in the microscopic pores of cheap materials. Remarkable Coating creates a non-porous, glass-like seal that ink cannot penetrate. With regular cleaning using a microfiber cloth and water (or whiteboard cleaner), your writable desks will stay bright white for a decade.
Q: Can I paint over a blackboard/chalkboard?
A: Absolutely. In fact, it’s easier than removing them. You simply fill any deep scratches or holes with spackle, sand it smooth, prime it to block the dark color, and roll on the whiteboard paint. You get a brand new whiteboard wall without the demolition dust.
Stop ignoring 30% of your building. Discover how to turn “dead” corridors into active learning hubs and safe, fire-code-compliant breakout areas this summer.
Your school needs an upgrade, but the budget is tight. Don’t buy expensive new furniture! Discover the hack that transforms old desks into modern collaborative surfaces using high-performance whiteboard paint. Follow our DIY guide to save on costs while modernizing your learning space.
Your classroom needs an upgrade, but the budget is tight. Don’t buy expensive new furniture! Discover the under $400 hack that transforms old desks into modern collaborative surfaces using high-performance whiteboard paint. Follow our DIY guide to save 96% while modernizing your learning space.
Turn your whiteboard wall into a sanctuary of positivity this month. We’ve curated the best February quotes about love, kindness, and connection to brighten your home or office, complete with expert design tips for your dry erase surface.
Modern workplaces are moving beyond digital noise. Learn how vertical whiteboard walls support neurodiversity, reduce eye strain, and trigger “embodied cognition” for a 52% boost in creative solutions.
Digital fatigue is rising. Discover why installing whiteboard walls is the neuroscience-backed cure for burnout, creating a “cognitive canopy” that outperforms high-tech smart boards.
Stop ignoring 30% of your building. Discover how to turn "dead" corridors into active learning hubs and safe, fire-code-compliant breakout areas this summer.


![Giant Leaps Forward Require Big Spaces. [Leap Year Sale Event!]](https://www.remarkablecoating.com/wp-content/uploads/2016/02/Giant-Leaps-ForwardRequire-Big-Spaces-440x264.jpg)


![30% Off St Patrick’s Day Sale! [Details Inside]](https://www.remarkablecoating.com/wp-content/uploads/2016/03/Glorious-1-440x264.png)

![Drive Your Organization Into Openness and Watch it Expand [20% Off Whiteboard Paint]](https://www.remarkablecoating.com/wp-content/uploads/2016/04/Drive-Your-Organization-Into-Openness-and-Watch-It-Expand.-1-440x264.jpg)


![ReMARKable’s Winter Sale is Here! [25% Off + Free Shipping]](https://www.remarkablecoating.com/wp-content/uploads/2018/01/Red-Tag-Winter-Fashion-Facebook-Post-1-440x264.png)


![ReMARKable Summer Sale 2018 [28% Off Whiteboard Paint]](https://www.remarkablecoating.com/wp-content/uploads/2018/06/Blue-Simple-Line-Beach-Facebook-Post-1-440x264.png)


0 Comments