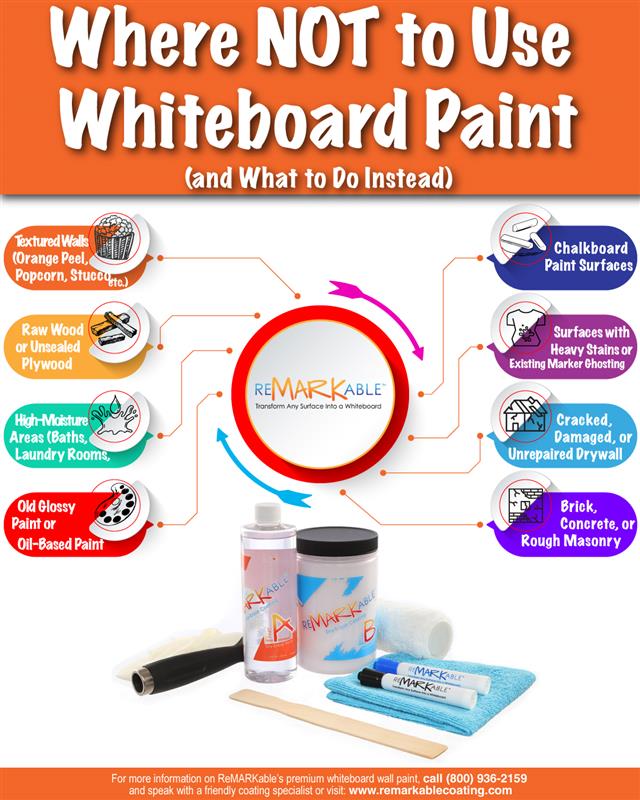
Where NOT to Use Whiteboard Paint
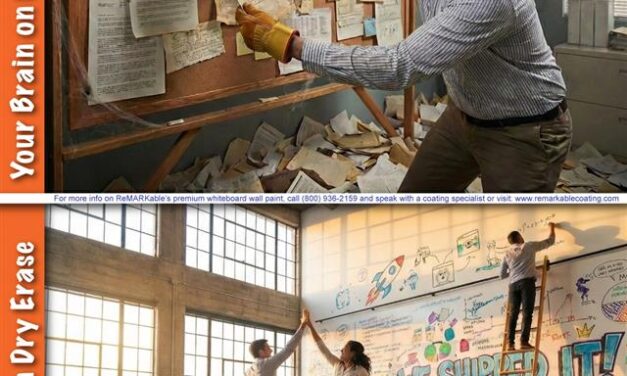
Despite its name, whiteboard paint is not really a type of paint but a special kind of coating that can transform any flat surface, such as a wall, a tabletop, or a desktop, into a handy area for writing with dry erase markers. Although the coating can be applied to a wide variety of surfaces, proper preparation is essential to achieve the best results.
Whiteboard paint fails not because the product is inferior, but because surface conditions aren’t suitable or aren’t prepared according to the manufacturer’s instructions. The most common causes of failure are texture, moisture, stains, poor adhesion, and failure to follow the directions. Thus, the purpose of this blog post is to help homeowners avoid costly mistakes and obtain a long-lasting, professional-grade whiteboard surface that will last for ten-plus years with regular use and maintenance.
Most whiteboard paint failures occur because the surface is textured, porous, damp, or improperly prepared.
Every so-called “problem surface” has a safe, effective solution, and using the proper prep method will ensure that, after the coating cures, it performs like a commercial-grade dry-erase board. Here are specific areas where you should not apply whiteboard paint, along with ways to address the problems they pose to achieve a suitable substrate for whiteboard paint.
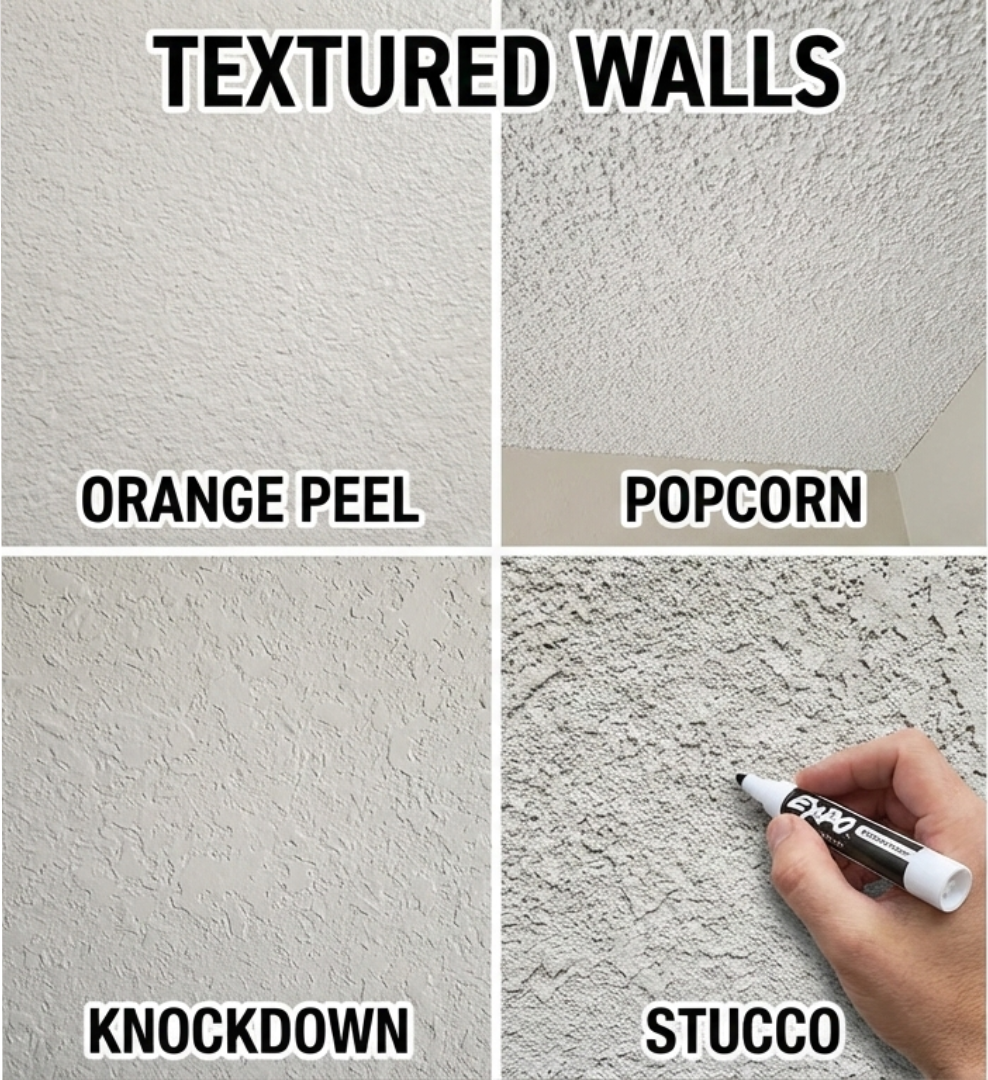
1. Textured Walls (Orange Peel, Popcorn, Knockdown, Stucco, etc.)
Textured walls prevent whiteboard paint from forming a smooth, erasable surface, causing ghosting, poor legibility, and difficult erasing.
 Why you shouldn’t apply whiteboard paint here
- Texture creates a bumpy surface that’s hard to write on
- Ink settles into the ridges → increases the chances of ghosting and staining
- Results in an uneven, unattractive, and unprofessional look
- Makes the surface harder to erase, even when high-quality markers are used
What to do instead
- Sand the wall until it’s smooth or
- Apply a skim coat to create a perfectly flat finish
- Then prime with a compatible primer followed by a proper base paint
- Apply whiteboard paint only on a completely smooth, clean, and unblemished surface
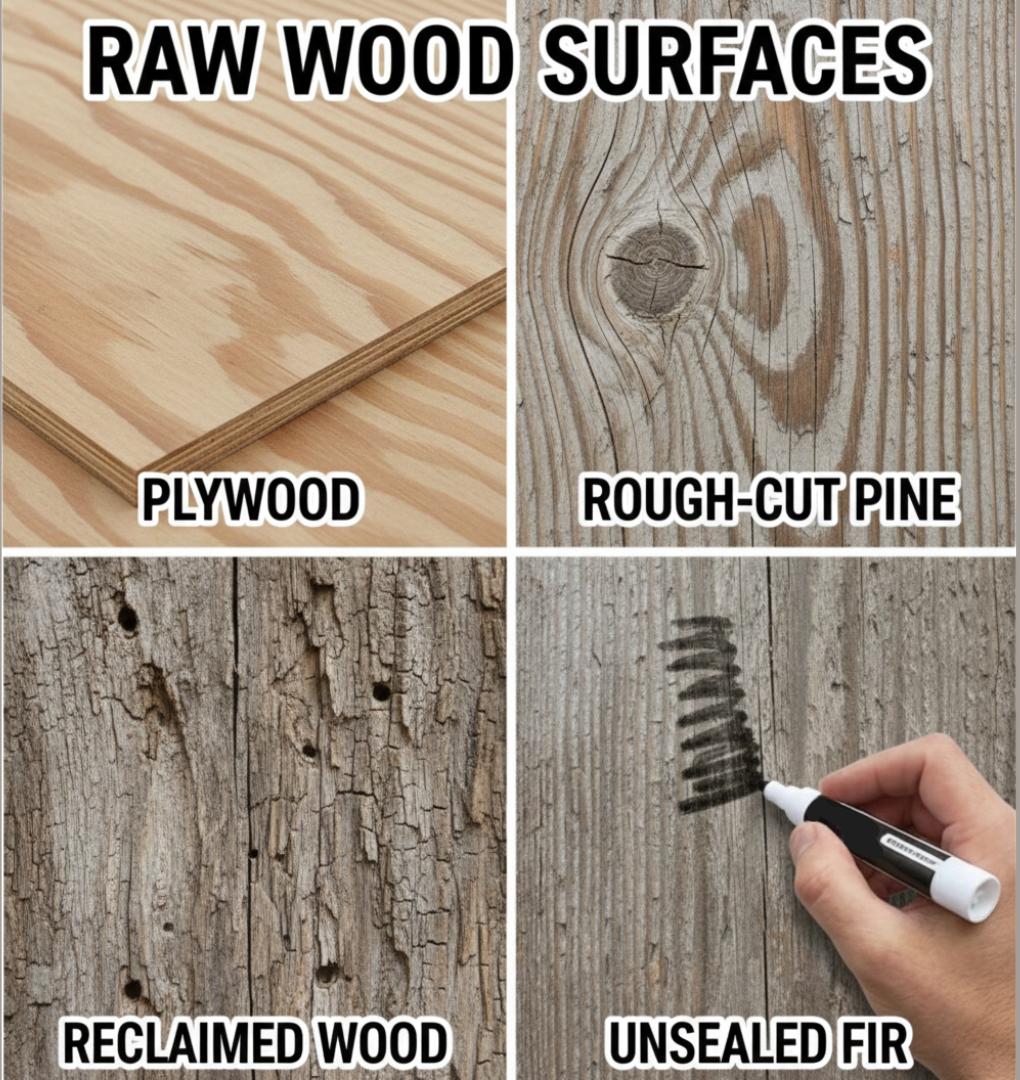
2. Raw Wood or Unsealed Plywood
Raw or unsealed wood absorbs whiteboard paint unevenly, resulting in patchy sheen, staining, and permanent ghosting.
 Why it doesn’t work
- Wood absorbs the coating unevenly
- Causes a patchy sheen and rough areas that make writing hard to read
- The porosity of wood leads to staining and permanent ghosting
What to do instead
- Seal the wood with shellac or wood sealer
- After the wood is sealed, sand it until smooth
- Prime with a primer followed by an appropriate base coat
- Apply whiteboard paint in the recommended scratch-resistant thickness per the manufacturer’s instructions
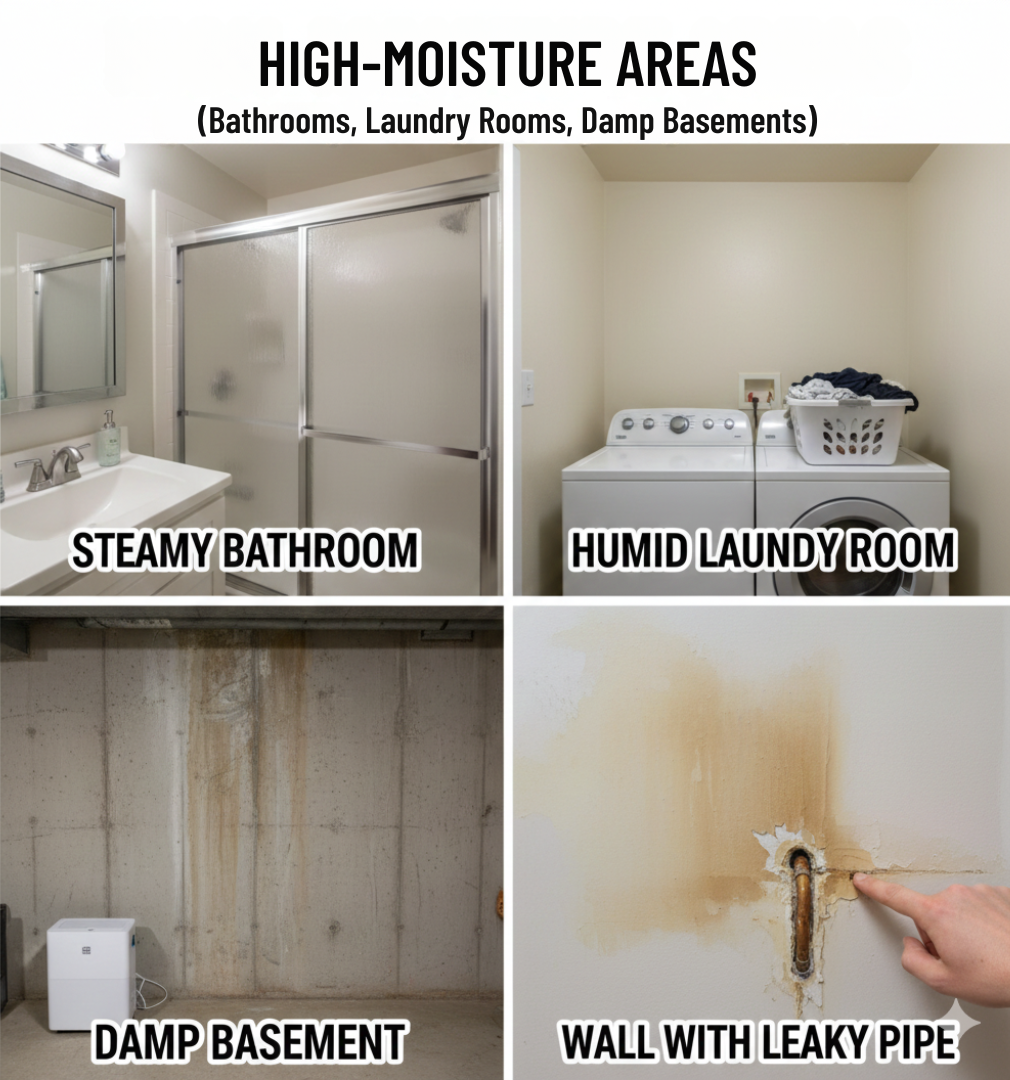
3. High-Moisture Areas (Bathrooms, Laundry Rooms, Damp Basements)
High moisture interferes with whiteboard paint’s curing process, leading to poor adhesion, streaking, and reduced erasability over time.
 Why they don’t work
- The coating needs to be applied and allowed to dry in proper conditions
- Moisture disrupts the coating’s curing chemistry
- Condensation causes streaking and poor adhesion to occur
- The surface becomes less erasable over time
What to do instead
- Install whiteboard paint only under dry, climate-controlled conditions
- Maintain a curing temperature of 72°–75°F for at least 48 hours at less than 50% relative humidity
- In humid rooms, consider installing glass or metal whiteboards instead of whiteboard paint
4. Old Glossy Paint or Oil-Based Paint
Glossy or oil-based paint resists adhesion, increasing the risk of peeling, chipping, and coating failure if not properly prepared.
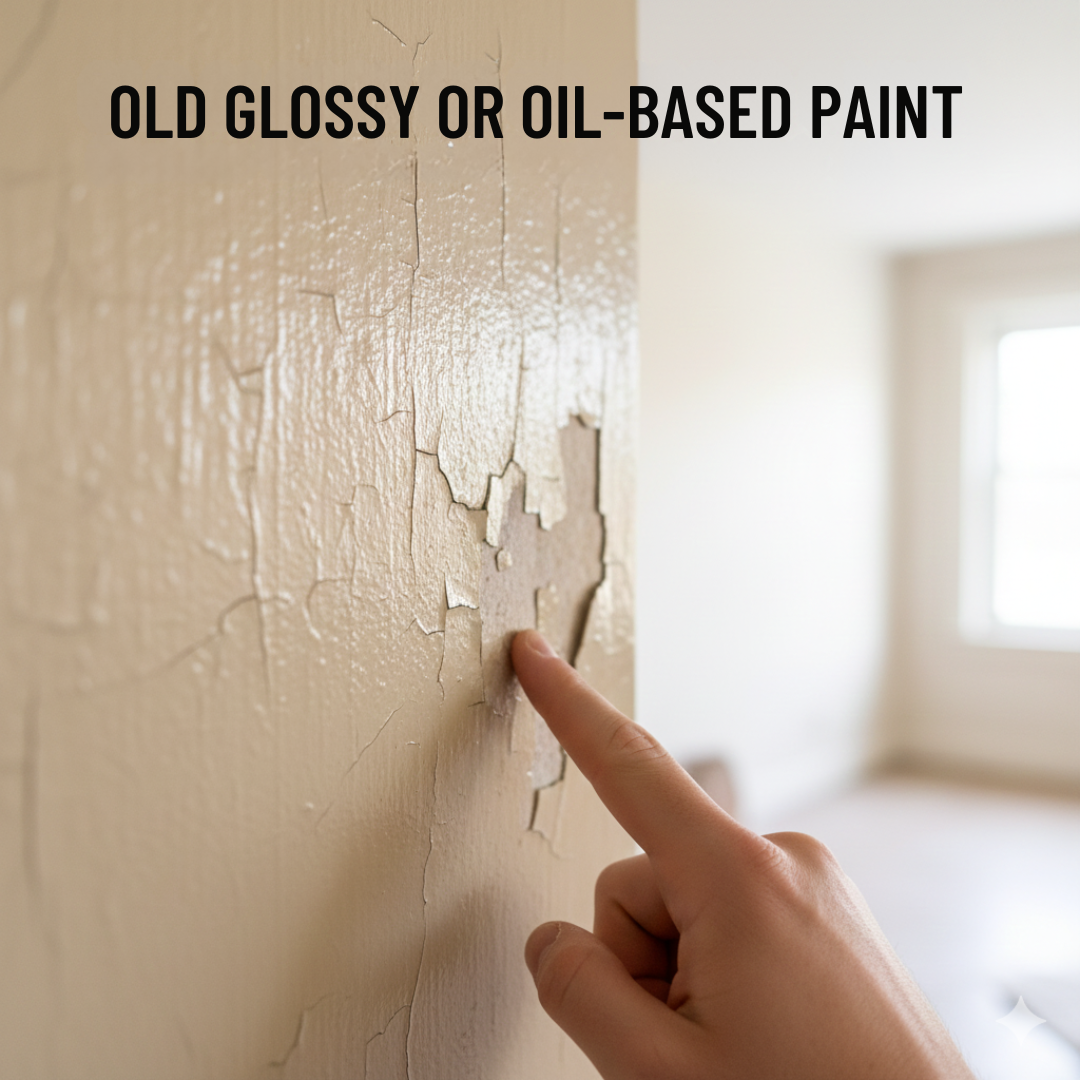 Why it doesn’t work
- It will work but it’s not advisable to deal with smelly, solvent-based paints that contain hazardous volatile organic compounds (VOCs)
- Glossy and oil-based surfaces resist the application of new coatings
- Creates an increased risk of peeling, chipping, and adhesion failure
What to do instead
- Lightly sand the surface to reduce the sheen
- Apply any high-bonding primer followed by a proper base coat
- Only then apply whiteboard paint according to manufacturer’s instructions
5. Chalkboard Paint Surfaces
Chalkboard paint leaves behind fine residue that disrupts adhesion, causing streaks, bumps, and a cloudy finish after curing.
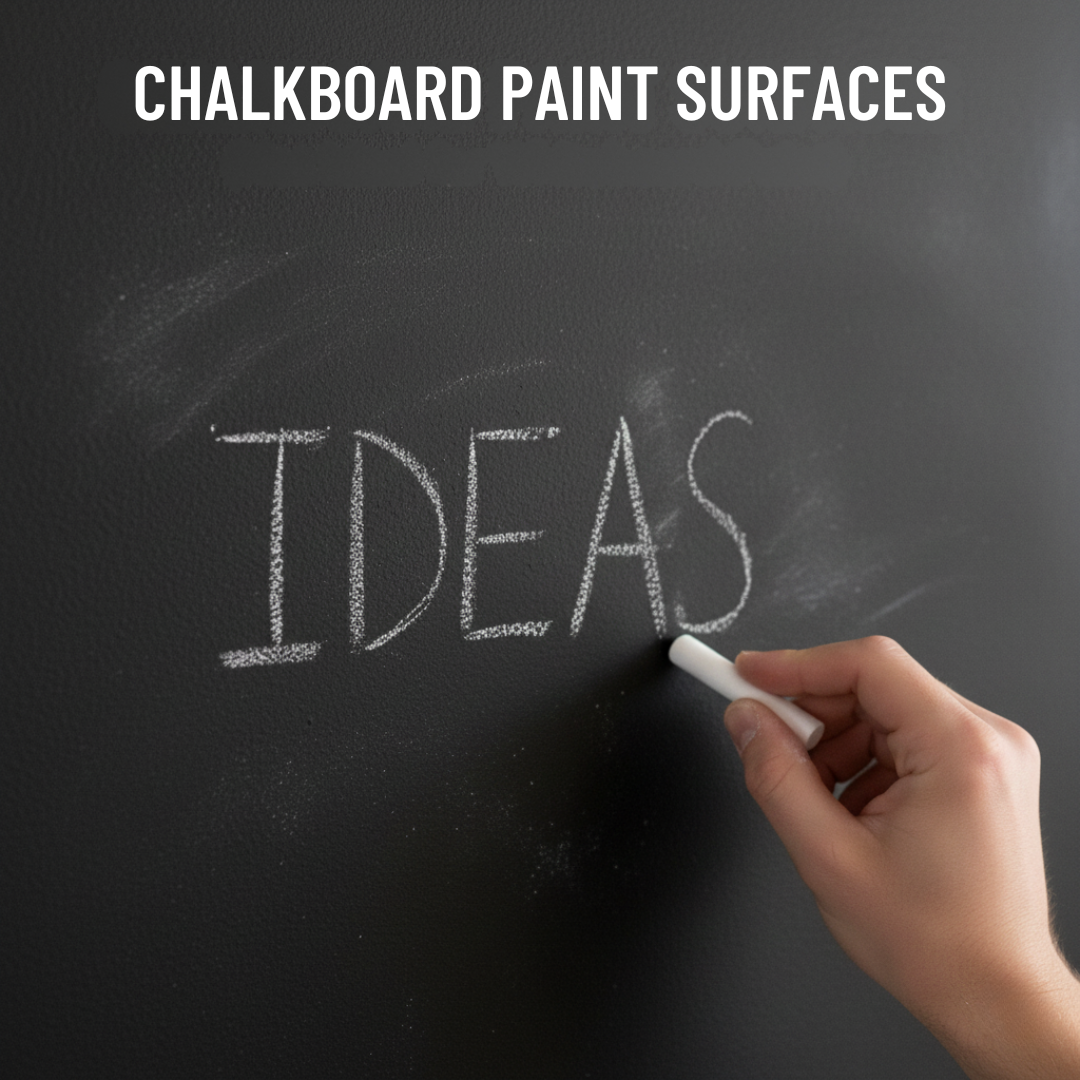 Why they don’t work
- Chalk residue prevents proper adhesion
- Even microscopic dust causes bumps and streaks during application
- Creates a finish that will look cloudy or uneven after curing
What to do instead
- Clean the surface with a damp microfiber cloth and remove all the dust
- Apply a primer followed by a proper base coat
- Apply whiteboard paint according to directions
6. Surfaces with Heavy Stains or Existing Marker Ghosting
Stains and old ghosting can bleed through whiteboard paint, resulting in permanent discoloration and visible marks.
 Why they don’t work
- Stains bleed through most coatings
- Old ghosting becomes visible under the layer of dry-erase coating
- Results in permanent discoloration of the surface
What to do instead
- Wipe surface with denatured or isopropyl alcohol
- Use a stain-blocking primer (e.g., Kilz, BIN) followed by a proper base coat
- Apply one coat of whiteboard paint per the directions
7. Cracked, Damaged, or Unrepaired Drywall
Cracks, dents, and holes telegraph through whiteboard paint, making surface imperfections more visible and harder to erase.
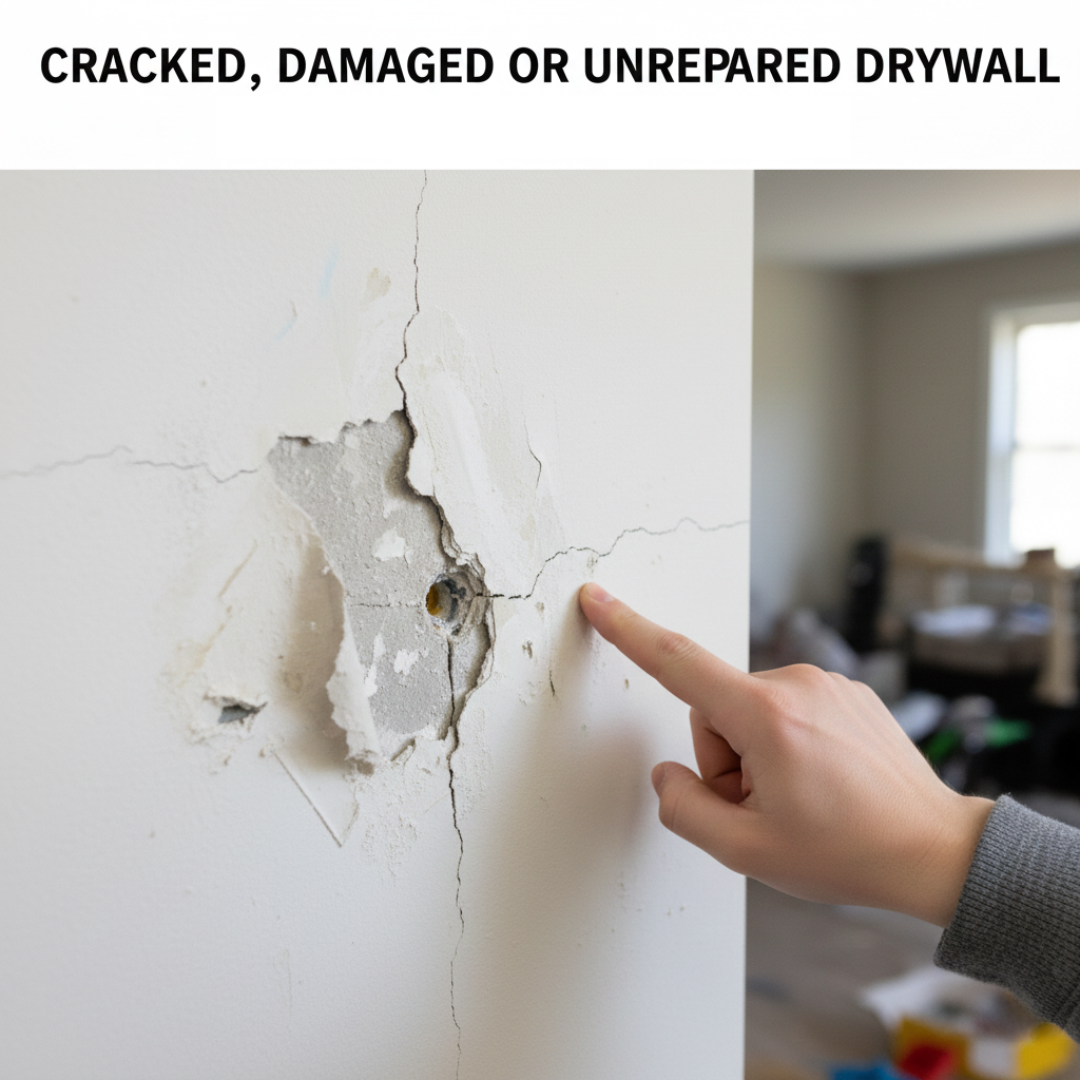 Why it doesn’t work
- Cracks, holes, and dents telegraph through the finish
- Applying whiteboard paint makes imperfections more visible
- Results in non-erasable indentations
What to do instead
- Patch holes and cracks with spackling compound
- Sand all patched areas until perfectly flush with the wall
- Prime and then apply a proper base coat followed by whiteboard paint
8. Brick, Concrete, or Rough Masonry
Rough masonry surfaces absorb whiteboard paint unevenly, producing a blotchy finish and an illegible writing surface.
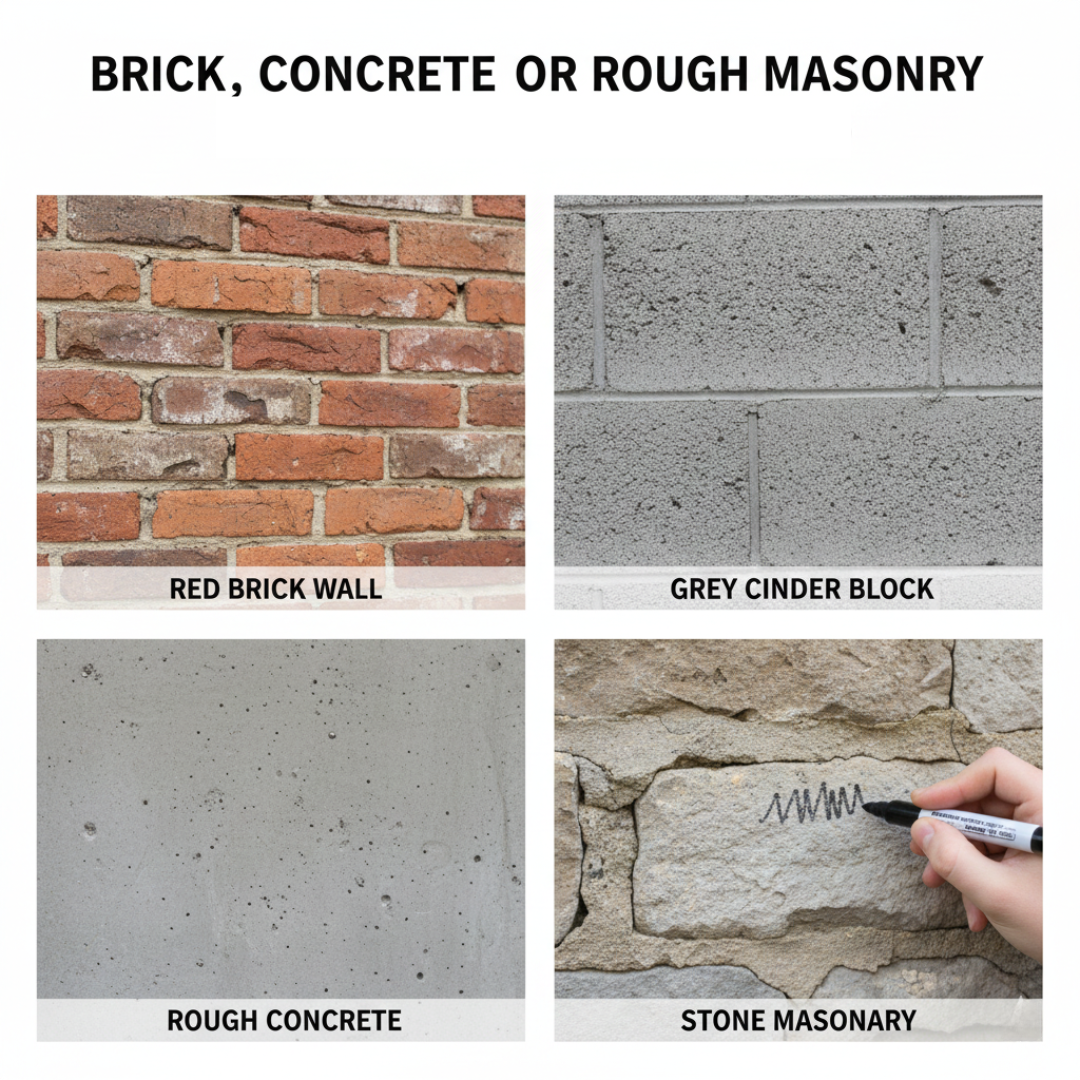 Why it doesn’t work
- Surface is extremely uneven and porous
- Writing becomes illegible
- Coating is absorbed unevenly → results in a blotchy finish
What to do instead
- Because these types of surfaces are too rough, install the coating on a smooth piece of wood or metal that’s affixed to the surface and properly prepared with primer and a base coat
Surfaces That ARE Ideal for Whiteboard Paint
✔ Smooth drywall
✔ Properly primed and base-coated walls
✔ Metal (e.g., steel doors and cabinets)
✔ Glass (e.g., interior office partitions, glass walls, and doors
✔ Smooth laminate
✔ Finished and sealed wood
✔ Smooth wooden doors
✔ Tables, desks, workbenches, and countertops
✔ Smooth room dividers
✔ Melamine surfaces such as traditional whiteboards
✔ Pre-finished cabinetry
Common Whiteboard Paint Mistakes to Avoid
- Not using the proper base coat
- Applying the coating too thinly
- Not maintaining an ambient temperature of 72º–75ºF during the curing process
- Attempting an installation in a space with more than 50% relative humidity
- Touching or writing on the surface before it is fully cured
- Over-rolling (causes bubbles and then tiny depressions after curing)
- Under-rolling (causes an insufficient amount of product to be applied)
- Using low-quality or permanent markers (use only high-quality low-odor dry erase markers)
- Not properly preparing the substrate before beginning application
What to Do If You Have Already Applied Whiteboard Paint to the Wrong Surface
- To fix texture issues: sand down and apply a skim coat to the surface, then re-apply the coating following all the required steps, starting with the primer coat
- To fix ghosting: clean surface with isopropyl alcohol → if it’s permanent, prime and recoat
- To fix adhesion issues: sand lightly → apply bonding primer → repaint
- When to completely repaint: for cases of severe staining or peeling, or when you have a rough surface
- When to call a professional: if walls need to be completely resurfaced, or if epoxy-based systems are required
Whiteboard Paint FAQ
Q1: Can whiteboard paint be used on textured walls? No, not directly. ReMARKable is a specialized coating, and the finished surface will only be as smooth as the wall beneath it. To use it on textured walls, you must first sand the surface with 220-grit sandpaper and apply ReMARKable Base Paint to create a perfectly smooth substrate.
Q2: Why does my whiteboard paint look streaky? Streakiness usually occurs from “back-rolling” (over-rolling an area already starting to dry) or exceeding the product’s 40–45 minute pot life. For a streak-free finish, use a 3/8” nap microfiber roller and apply the coating in one even pass without over-working the film.
Q3: Does whiteboard paint work on chalkboard paint? Yes, but you must first remove all chalk dust and clean the surface thoroughly. Because chalkboard paint is porous, you must apply 2–3 thin coats of ReMARKable Base Paint to seal the surface before applying the whiteboard topcoat to ensure a smooth, erasable finish.
Q4: Why is my whiteboard paint not erasing properly? The most common cause is writing on the surface before the full 48-hour cure time is complete. Other factors include using high-odor markers or traditional felt erasers. For best results, use low-odor dry-erase markers and a clean microfiber cloth.
Q5: Can you paint over an existing whiteboard wall? Yes, you can paint over a whiteboard wall as long as you prep the surface correctly. You must clean all ink, lightly sand with 220-grit sandpaper to remove the gloss, and apply a compatible base coat. For a step-by-step walkthrough, see our complete guide on how to paint over a whiteboard wall.
Whiteboard Paint: A Reliable Writing Tool to Suit Your Needs
Premium whiteboard paint performs exceptionally well when applied to the right surfaces and when proper preparation procedures are followed. One of the most critical steps to a successful whiteboard paint installation is creating a completely smooth substrate in advance. So, make sure that your wall is as smooth as possible before starting your application. This is sometimes one of the overlooked aspects of using the coating, but when you do so you’ll produce a writing surface that will provide you with many years of trustworthy service.
If you’re not sure whether your space is appropriate for applying whiteboard paint, keep in mind that more than 100,000 installations have been performed around the world in a wide variety of settings. Organizations such as Google LLC, Apple Computer, Inc., and Harvard University have installed high-quality whiteboard paint in their buildings, demonstrating the product’s proven reliability.
To see if ReMARKable Whiteboard Paint is the right choice for your space and needs, explore our Whiteboard Paint page to request a quote or browse recommended coatings.
Refer to the Instruction Sheet below for complete application instructions:
https://www.remarkablecoating.com/wp-content/uploads/2021/04/ReMARKable_Instructions.pdf


![Giant Leaps Forward Require Big Spaces. [Leap Year Sale Event!]](https://www.remarkablecoating.com/wp-content/uploads/2016/02/Giant-Leaps-ForwardRequire-Big-Spaces-440x264.jpg)


![30% Off St Patrick’s Day Sale! [Details Inside]](https://www.remarkablecoating.com/wp-content/uploads/2016/03/Glorious-1-440x264.png)

![Drive Your Organization Into Openness and Watch it Expand [20% Off Whiteboard Paint]](https://www.remarkablecoating.com/wp-content/uploads/2016/04/Drive-Your-Organization-Into-Openness-and-Watch-It-Expand.-1-440x264.jpg)


![ReMARKable’s Winter Sale is Here! [25% Off + Free Shipping]](https://www.remarkablecoating.com/wp-content/uploads/2018/01/Red-Tag-Winter-Fashion-Facebook-Post-1-440x264.png)


![ReMARKable Summer Sale 2018 [28% Off Whiteboard Paint]](https://www.remarkablecoating.com/wp-content/uploads/2018/06/Blue-Simple-Line-Beach-Facebook-Post-1-440x264.png)


0 Comments